How to Install Kitchen Cabinets?
When the time comes to install kitchen cabinets, the renovation has already consumed most of the planned budget. So, many homeowners are thinking about installing kitchen cabinets by themselves. This might be a tempting solution if you know exactly what to do and have all the necessary tools to complete the project. If the cabinetry you work with is relatively simple, then The Cut2Size kitchen cupboard installation guide will be a good help in the process.
At some point, you might realize that you picked advanced custom cabinets, and the installation seems difficult to you; in that case, it’s recommended to use a professional trade because incorrect installation is one of the reasons for improper cabinet functioning and, in the worst-case scenario, leads to cabinet replacement and loss of funds much needed in a kitchen renovation.
The hanging kitchen cabinets stage is extremely important, not only for the aesthetic appearance of the kitchen but also for its future safety. All kitchen cabinets must be hung at the correct height, levelled and securely fixed. There is also a particular order that you have to follow while mounting kitchen cabinets. This post will give you an idea of how the installation process looks, and you can decide whether you can do i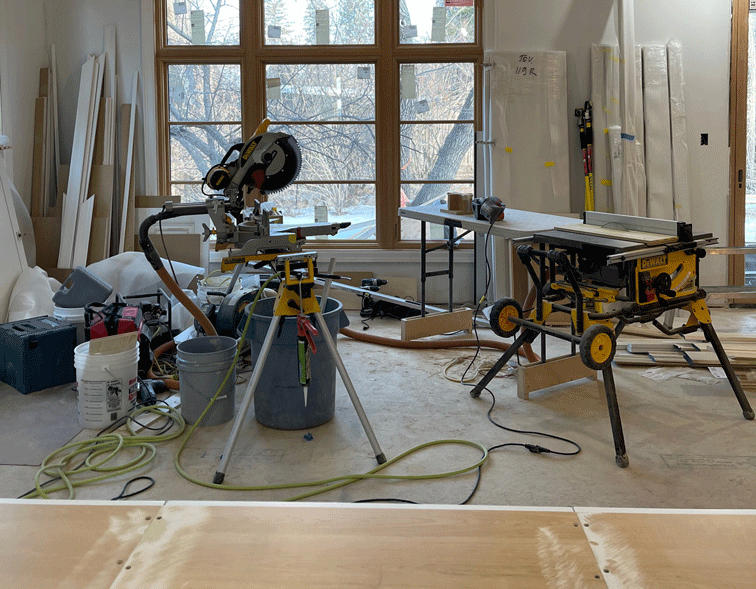 t on your own or if you could use the help of a professional cabinet installer.
How long does it take to install kitchen cabinets?
The kitchen cabinet assembly and installation of the cabinets should take around 2-7 days for a small to medium-sized project. However, planning and designing, selecting materials, removing the old cabinets if it is a reno, and preparing work might take weeks or even months.
Before installing kitchen cabinets, it is essential first to evaluate the amount of preparation work. Based on the kitchen design and layout, electrical and plumbing work might have taken less or more time.
How to prepare for cupboard installation?
Prepare plumbing rough-ins for supplying water to the sink, dishwasher, hot water dispenser, water filter, and ice maker in a fridge. Install the necessary lines for draining used water from kitchen appliances.
When planning electrical in your kitchen, consider the small kitchen appliances, stationary appliances, plug placement, and lighting location. Install electrical wiring and boxes.
Follow the specs of the appliance. Different types of appliances require a different power supply.
It is highly suggested to hire professional trades to complete this job as they can do the job faster and do the job according to local city codes and bylaws. It's hard not to mention money, but the time and headache saved from not having to run back and forth to the hardware store several times a day may be worth the extra money spent on a professional.
When the plumbing and electrical rough-ins are done, you can move to your kitchen reno next step. To install kitchen cabinets, you will require specific skills and a set of tools. Having proper tools is one of the keys to a successful installation.
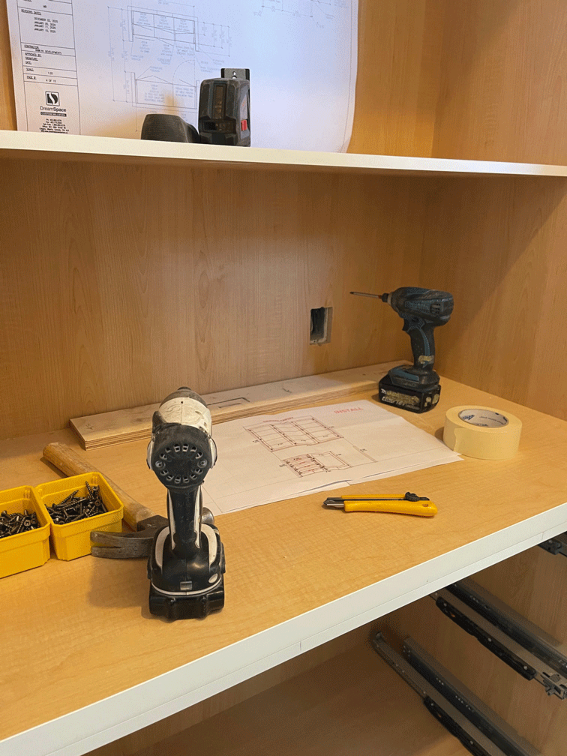
List of kitchen cabinets tools and equipment required to install kitchen cabinets:
- Level
- Tape measure
- Stud finder
- Cordless drill and impact driver of any brand, just make sure it can drive 2 ½” screw-in studs, and a small set of drill bits.
- Screwdriver
- Chop saw and table saw.
- Screws in different sizes: 1 ⅛”, 1 ¼”, 1 ½”, 2 ½.”
- Good quality shims (with thin ends)
- Clamps
- 5’ level
- 24” level
- Laser level
- Rubber mallet or hammer
- Chalk line (if you have a long-distance to mark)
- Pencil
- An essential tool pouch, tool belt, or apron—it will make your life way easier carrying all the essential tools with you during the installation process.
After you have gathered all the necessary tools and completed all the electrical, plumbing, and drywall work, you are ready to install the kitchen cabinets.
Following kitchen cabinet installation instructions is important to make the installation quick, efficient, and precise and guarantee that you will be satisfied with the result.
A step-by-step kitchen cabinet installation guide
- First of all, make sure that the cabinets you have received or brought home are in the right style and colour, and also that all the parts are included, and there is no damage. Confirm dimensions with the original layout that you ordered the cabinets with. This is an important step, as it may take time to return or exchange a wrong or
 damaged product, and this will take longer for more advanced kitchen cabinets.
 - Next, let’s start with the layouts: Find your stud finder and on the walls where the cabinets will be installed, find and mark all the wooden studs as you are going to be attaching (screwing) boxes to them. Draw vertical lines from the floor to the ceiling. (Studs are very important, they support the weight of the cabinets.) Please watch all electrical and plumbing points and runs. Also, you are most likely going to have ventilation ducts in the walls. Try to avoid screwing boxes in places where you can locate electrical conduits, water lines, or ducting.
- Find center points such as the center of the window where sink cabinets are usually located and the center point of the ventilation duct where most likely your stove and hood vent units will be placed. These will be the reference points that will help you with the kitchen’s actual layout.
- Now, begin the layout of the cabinets. Usually, you will start with the corner cabinet. Measure the width and outline it on the wall, then continue with the rest of the cabinets. Don't forget about fillers and gables. This is an important step as it will show you if the configuration of the cabinets and parts you have ordered will work in the space where you are going to install them. Also, it will show you if you have proper openings for appliances or any interference with electrical, plumbing, or ducting fixtures, so you can address any potential issues before the actual installation begins.
- Now find the highest point of your floor using a level or a laser level, which is a more preferred tool for today's installers. If you bought it in Walmart or at Kijij, throw it into the garbage right away; you bought junk, and you will never need it. You got what you paid for.
Depending on the construction of the cabinets that you have ordered, you are going to mark the height of the detachable base, which is usually 4 ½” above the finished floor, or if your cabinets are made with the base, you will mark 34 ½ “ above the floor which is the standard height for kitchen base cabinets as well as the standard height for installing kitchen island cabinets. Mark this height on all the walls. Levelling is very important for proper hardware function so that your doors and drawers will open and close and work smoothly. It is also very important for appropriate solid surface countertop support as it might crack if the cabinets are not levelled.
- Now we have to establish the distance between the upper and lower kitchen cabinets. Measure 54” from the floor's highest point and draw a horizontal line. This line will be at the bottom of your upper cabinets.
- You should end up with your kitchen plan on your walls. Mark the position of each cabinet and appliance on the walls.
The right tools, patience, precision, and proper preparation will help you to be quick and efficient with the installation. Whether you have simple basic kitchen cabinets or advanced kitchen cabinets, the installation process is similar.
Therefore, let's get to the cabinets’ actual installation and how to set up the kitchen cabinets.
How to Install Base Kitchen Cabinets?
- If you purchased your cabinets unassembled, you would need to put them together following the kitchen cabinets assembly specs from the boxes’ manufacturer. For example, Ikea cabinets and furniture always come in pieces.
- If you have cabinets assembled already, remove all the shelves, drawers, and doors from the cabinets. Mark the parts that you are removing. This will save you time later.
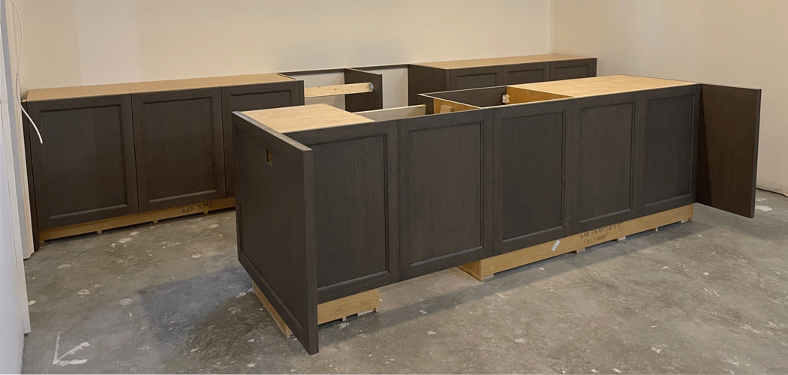
- Set the detachable cabinet base or base cabinets against the walls according to the layout determined prior. Use a laser level or a level with the help of shims to make sure they are even with the marks on the wall. Levelling of the base or base cabinets is very important;
 do the best job possible, as this is the foundation of your cabinets. Take your time and don't rush it, as this will pay off later.
 - Install kitchen cabinets on floors first. Don't forget about proper spacing; use fillers, spacers, and gables.
- Start from the corner if you have one.
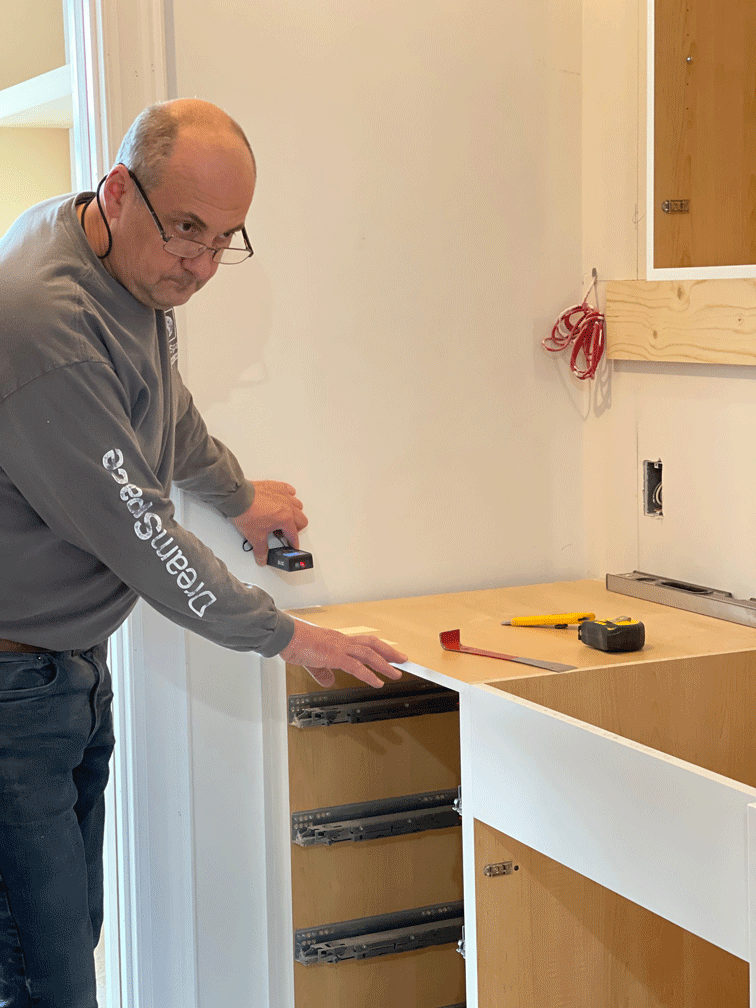
- Install kitchen base cabinets on the bases. After setting the corner cabinet, add the next one. Make sure that the front edge of the boxes is aligned from top to bottom. Move your finger over the joint to feel for misalignments. When they are close, use clamps to clamp the boxes so you can gently tap with a mallet to get them flush. With a ⅛ drill bit, pre-drill pilot holes through the side of the box. Depending on the thickness of the material used to construct the cabinets, you might use 1 ⅛” (28 mm) or 1 ¼”(32mm) wood screws.
Next, you have to level the cabinet from front to back. To do so, set a 24” level on the vertical edge of the cabinet and with a shim between the wall and the back of the cabinet, and adjust the box, so it's perfectly plumb. It's very important again to do the best job possible as this will affect the final look of the kitchen, will help with the proper functioning of door and drawer hardware, and will provide a nice and flat surface to support solid surface countertops as well as an excellent and straight line for tile or stone on the backsplash. - Make sure the cabinet still follows the outline on the wall, as this is your reference mark and will confirm that you keep your cabinets on the right track.
- Predrill t ⅛” pilot holes through the back of the cabinet where you see stud lines. With a drill or impact driver, use 2 ½” screws to attach the cabinets to the wall. Sometimes you might run into situations where you don't have a stud behind the cabinets, in which case you might use drywall anchors (please see YouTube video).
- Continue until all base cabinets are in place.
- The next step is the installation of fillers and end panels. You are going to need a chop saw, and table saw for this.
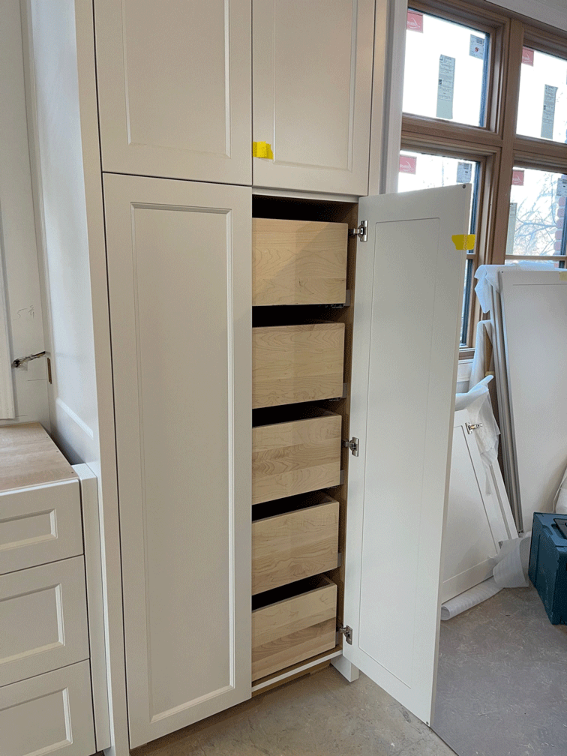
- After the base cabinets are in place, install the shelves, drawers, and doors back on.
- Now you are ready to add a second row of upper cabinets.
- Remember that you need at least an 18” distance between the countertop and upper cabinets to make your future kitchen ergonomic and functional.
- To make installation of the uppers a little easier, you can put a brace (2” wide piece of plywood or any other material) right under the level line. It will help with setting cabinets and carry their weight until you secure them to the wall.
- On infrequent occasions, you might need to hang kitchen cabinets off the ceiling. In this case, I would leave this for a professional carpenter or cabinet installer. It's a tricky task and can be very dangerous if not done correctly.
- Now that you have gone through this straightforward kitchen cabinets installation instruction guide, you have learned the basics of how to set up kitchen cabinets!
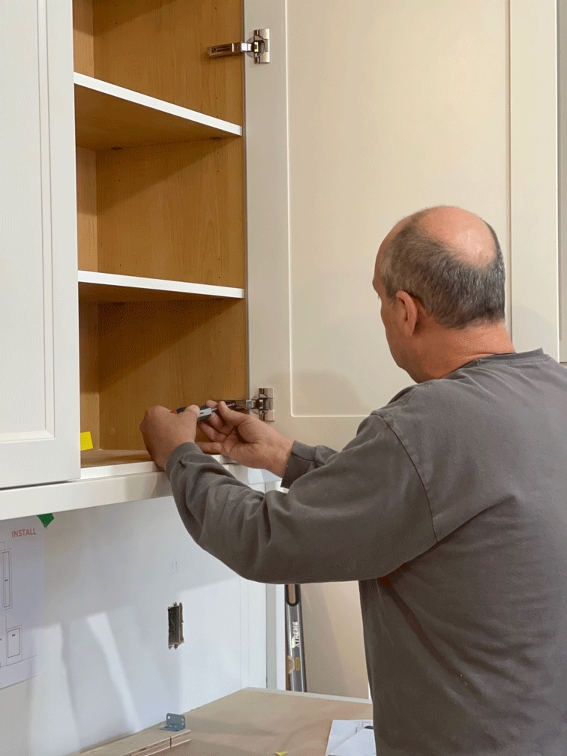
How to install a cabinet door?
To install the cabinet door, you need to put back the hinge, which is a piece of hardware that connects your door to the frame, allowing it to open and close. There are many kinds and brands of hinge hardware. Most popular is the Blum brand made in Austria, used commonly in Ikea Cabinets and Furniture.
How to install a drawer?
To install the drawer, you have to put a drawer box with the clips attached to the bottom of it on the metal glides and push it in towards the back of the box until you hear a click. This lets you know the drawer is back in place and secured correctly.
How much does it cost to install new kitchen cabinets?
Among all the rooms in your house, the kitchen is the most complex structure. In addition to cabinets, it includes appliances, plumbing, and electrical fixtures. How much is it to install kitchen cabinets? Kitchen cabinet installation price depends on many factors.
The size of the kitchen plays an important role in budgeting the cost of the installation.
The cost of the kitchen cabinet installation can also vary depending on the complexity of the design. If your kitchen design involves custom-made pieces, such as floating shelves, wine racks, open shelves, furniture toe kicks, thick panes or gables, crown mouldings, or under-cabinet lighting, be ready to spend more money on installation. If your kitchen design is simple, you might even be able to install it yourself. Prices for the installation can be different depending on the company, experience of the installer, etc. In the table below, you can get an idea of how much it could cost in Alberta, Canada.
Price to install kitchen cabinets
|
Unit of measure |
Quantity |
Description |
Price |
|
Linear foot |
1 |
Full Heights |
$50.00 |
|
Linear foot |
1 |
Upper Cabinets |
$25.00 |
|
Linear foot |
1 |
Base Cabinets |
$25.00 |
|
Piece |
1 |
Gable/Panels Full Size |
$50.00 |
|
Linear foot |
1 |
Header |
$3.00 |
|
Linear foot |
1 |
Upper Valance |
$3.00 |
|
Piece |
1 |
Cabinet Fronts |
$10.00 |
|
Piece |
1 |
Cabinet Handles |
$2.50 |
Suppose you decide to go with unassembled cabinets such as Ikea cabinets or furniture, budget some money for assembly. This is a very affordable option. Most of the work you do by yourself. All Ikea boxes come disassembled in a flat pack. All the parts are labelled and ready to assemble. Ikea kitchen cabinets are relatively easy to assemble. They have detailed assembly instructions. If you have a hard time putting the boxes together, you can hire help. The price for assembly of Ikea kitchen cabinets varies from $15 per box and up. You can get an assembly and installation service from Ikea. The other choice is to outsource an installer from websites such as kijiji.ca, houzz.com or homestars.com. You will find many professional installers or carpenters who can help you with your project. I highly recommend checking their credentials, reviews, and reliability insurance. Discuss project details, costs and timelines, and compare quotes before hiring any trade to ensure you are hiring with confidence.
Generally speaking, installing a 10 x 10 kitchen varies from $1000 to $2500 in Alberta. Depending on the size and scope of the work, the installation price is going to change. If you are on a budget, you can go with simple kitchen cabinets to save money and install them yourself. If you have a larger budget and can afford advanced kitchen cabinets with organizers and complex construction methods, budget more money for installation since it will take longer, and you will require professional tools and knowledge.