Cabinet door installation guide
The new doors will give your kitchen a dramatic look at a fraction of the cost of a kitchen remodel. And, if done correctly, you can finish it without having to tear up your entire kitchen. But cabinet door installation requires skills, effort, and a bit of preparation.
You might have purchased new doors online, only to discover that installation was not included. Or, perhaps a millwork specialist quoted you a fair price, but cannot come for the next three months. You may find yourself in a tight budget halfway through a kitchen update and wonder if installing cabinet doors is realistic. Nothing shameful here, things happen! Let’s learn how to install kitchen cabinet doors DIY.
This guide was created for homeowners who are exactly in this position. At Cut2size, we work with many homeowners across Canada who order custom or standard cabinet doors and are now wondering:
-
How difficult is it to install cabinet doors by myself?
-
What types of doors are DIY-friendly and which are not?
-
What tools do I need?
-
Where are people most likely be mistaken?
Our experts have answered these questions in a clear and concise manner, without presuming that you are a professional door installer. This guide is designed to help you determine whether you can handle installing new cupboard doors by yourself or call in a professional.
How complex is DIY cabinet door installation?
Before diving into tools and door types, it's essential to understand one point:
The installation of kitchen cabinet doors is not a heavy-duty job. It requires precision.
The difficulty of the task depends less on your strength or experience and more on three key pillars.
-
Accuracy;
-
Patience;
-
The door type you've chosen.
General DIY complexity levels
|
Complexity level |
Typical door types |
DIY suitability |
|
Beginner |
Standard concealed hinges on full overlay doors |
Easy to DIY |
|
Intermediate |
Inset doors, soft-close upgrades |
Requires precision |
|
Advanced |
Corner bi-fold doors, flip-ups, frameless glass doors |
Professional help recommended |
Most full-overlay installations are easily achievable by a homeowner who is careful. Inset, corner and lift systems are more complex and require greater skills.
Cabinet door installation tools
It is not necessary to have a professional workshop, but it is important to have the right set of tools. DIY projects often fail due to improvised installs. So be sure to prepare the following:
-
Tape measure (metric & imperial);
-
Pencil or fine marker;
-
Drill with clutch control;
-
Level (preferably a small cabinet level);
-
Screwdriver set;
-
Clamps (for temporary positioning of doors);
And the following tools aren't mandatory, but they can significantly impact the results:
-
Cabinet door installation jig for hinge cup drilling (rarely required);
-
Cabinet door installation positioner - holds doors at a consistent height;
-
Cabinet door installation clamp - keeps alignment steady during fastening;
-
Cabinet door handle installation template - prevents crooked hardware.
These tools are designed for installers working alone or professionals who do a lot of installations. They're not essential for a single kitchen project, but are nice to have. They do help prevent errors that are visible, especially when installing multiple doors.
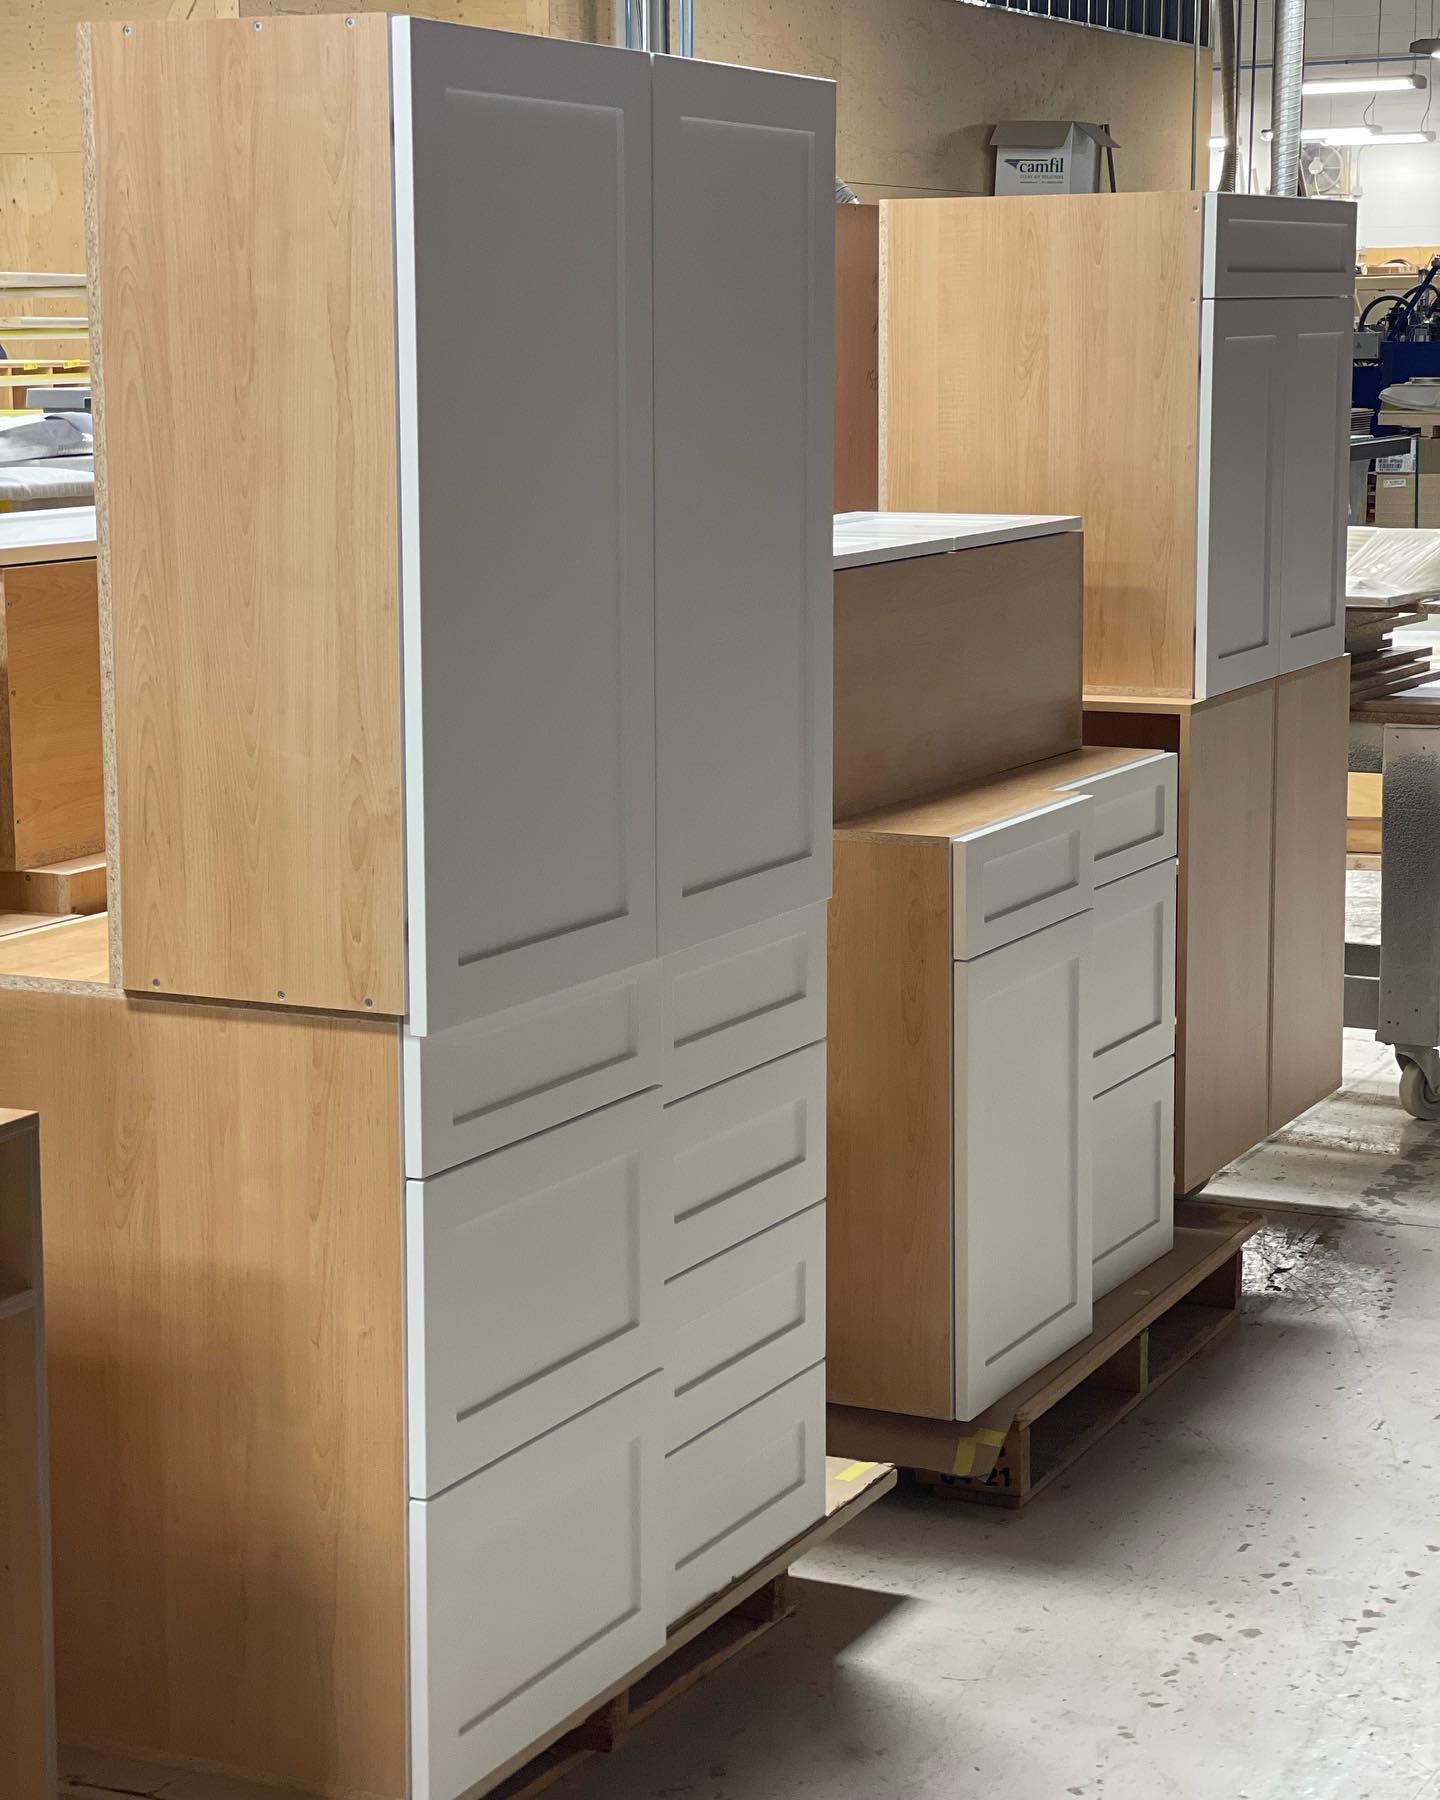
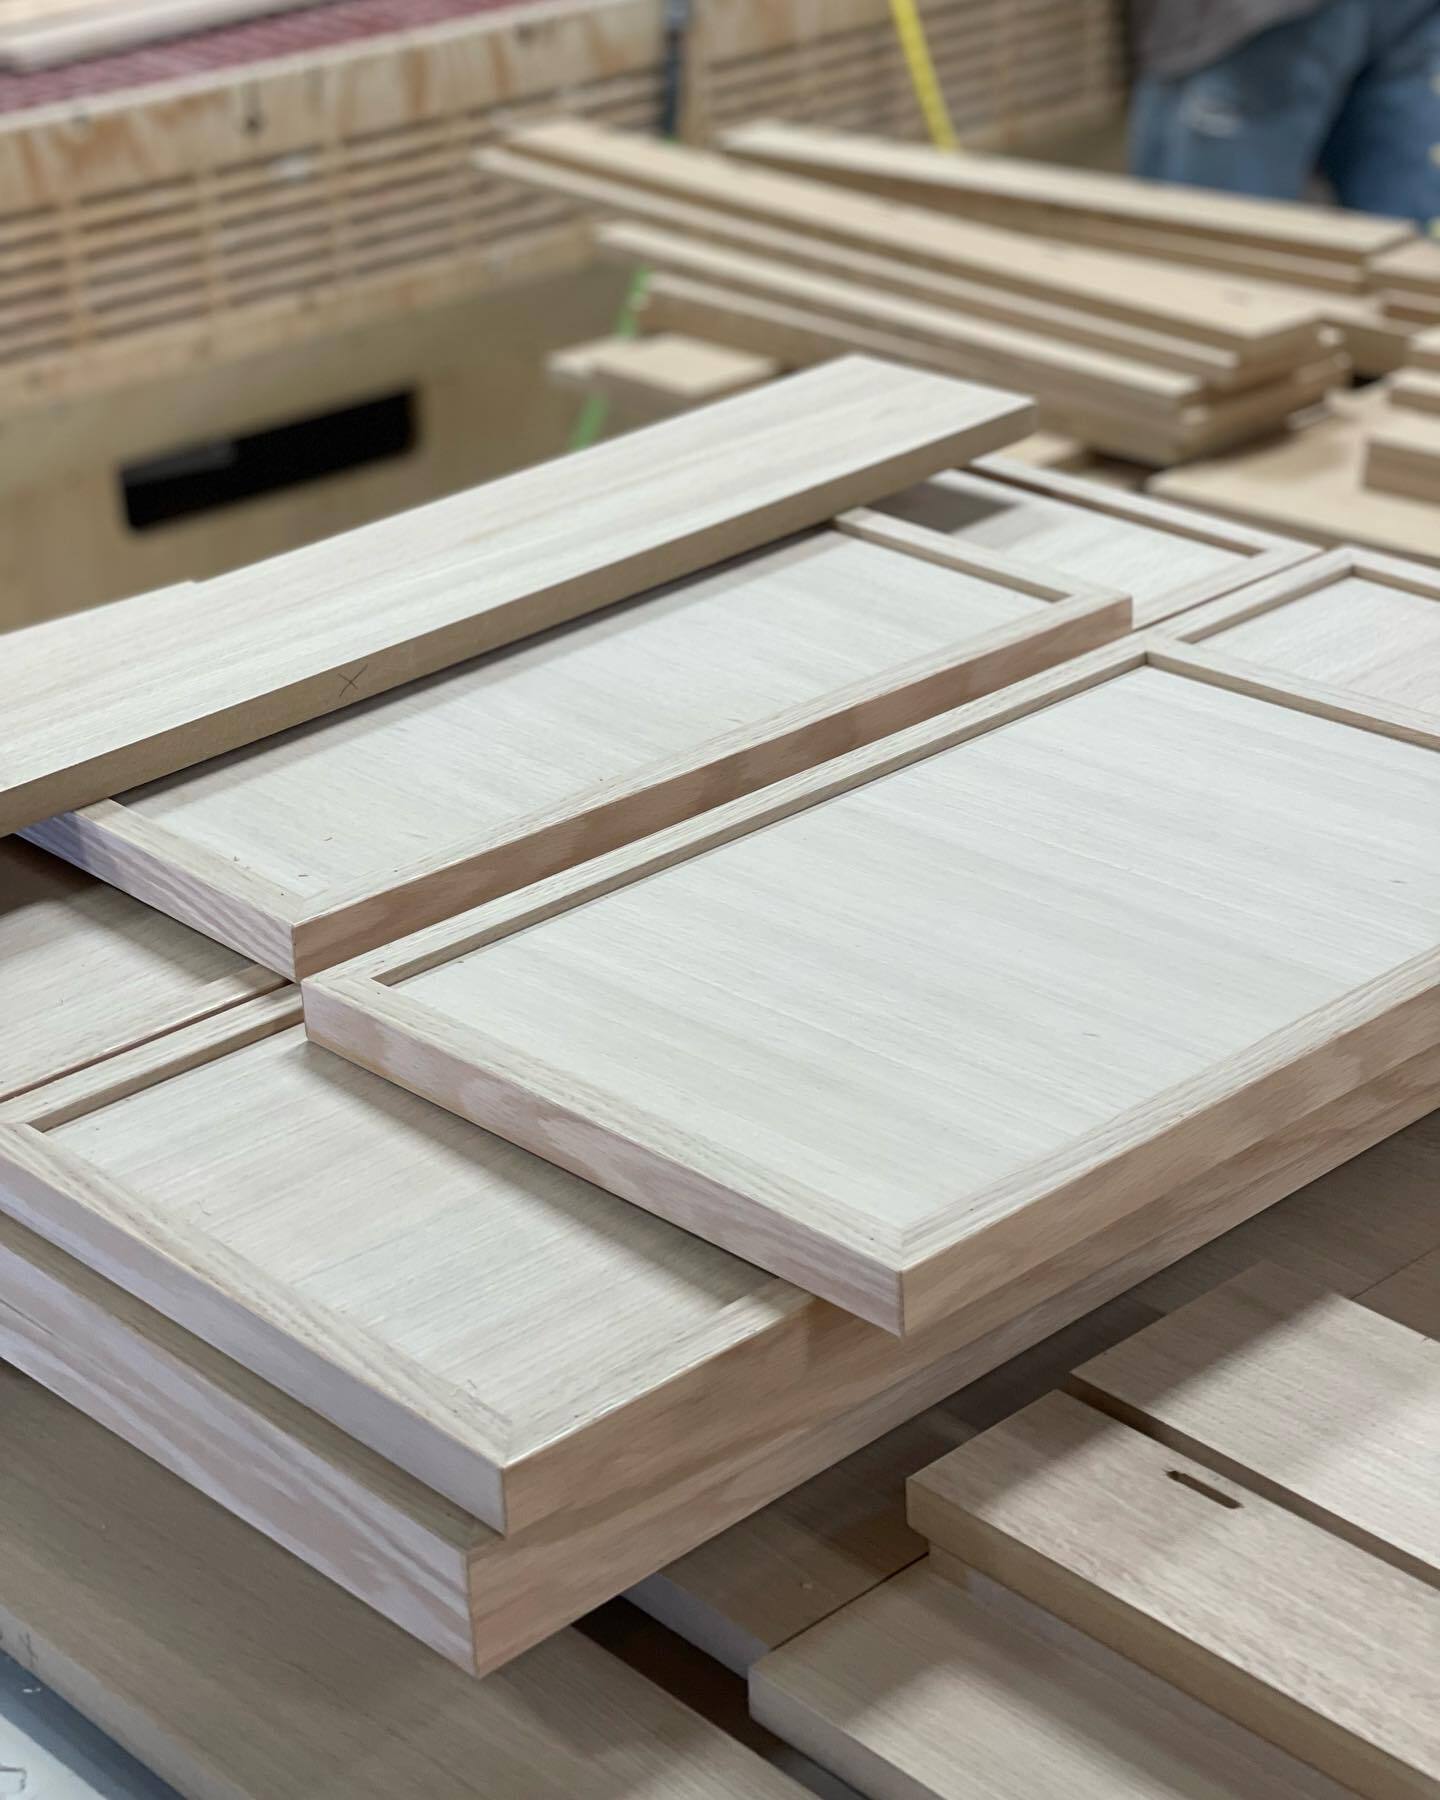
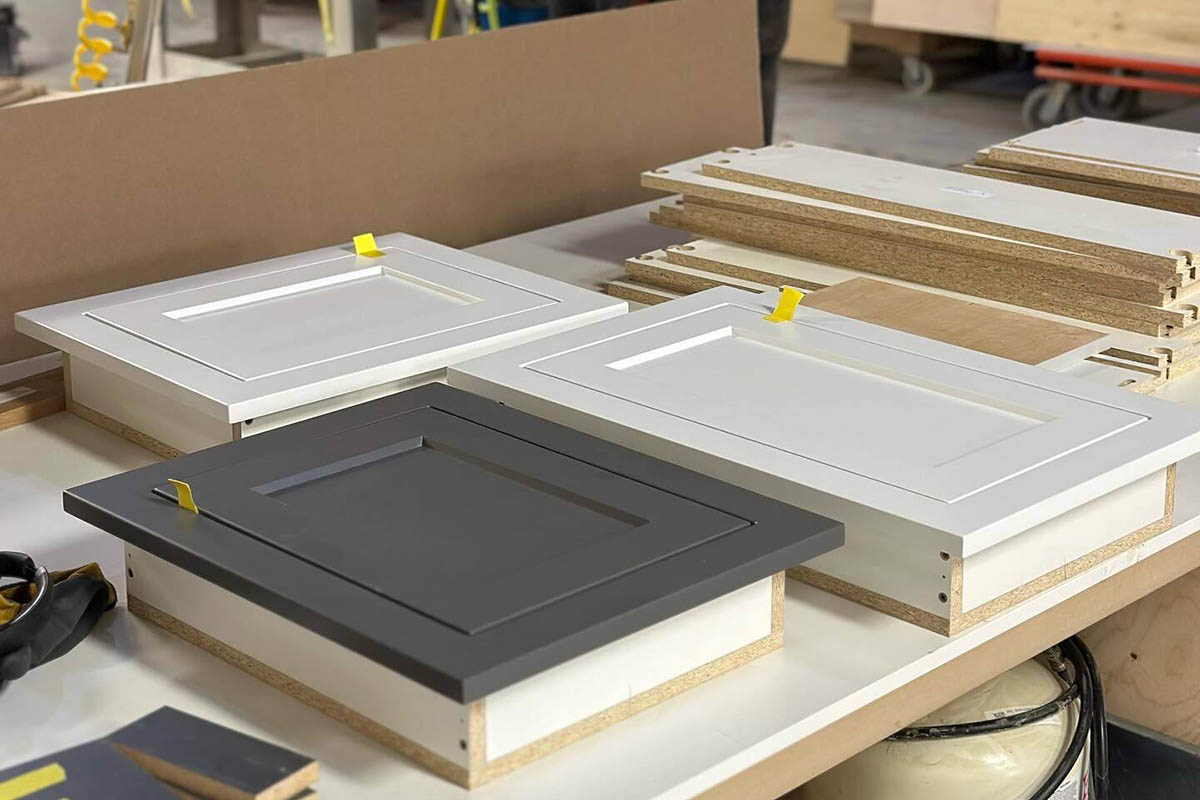
Types of cabinet doors and what makes their installation different
A cupboard door may seem like a quite simple thing - it is a panel that has to be attached to a box. However, when you look closer, you see that not all doors are the same. They have different designs and installation requirements.
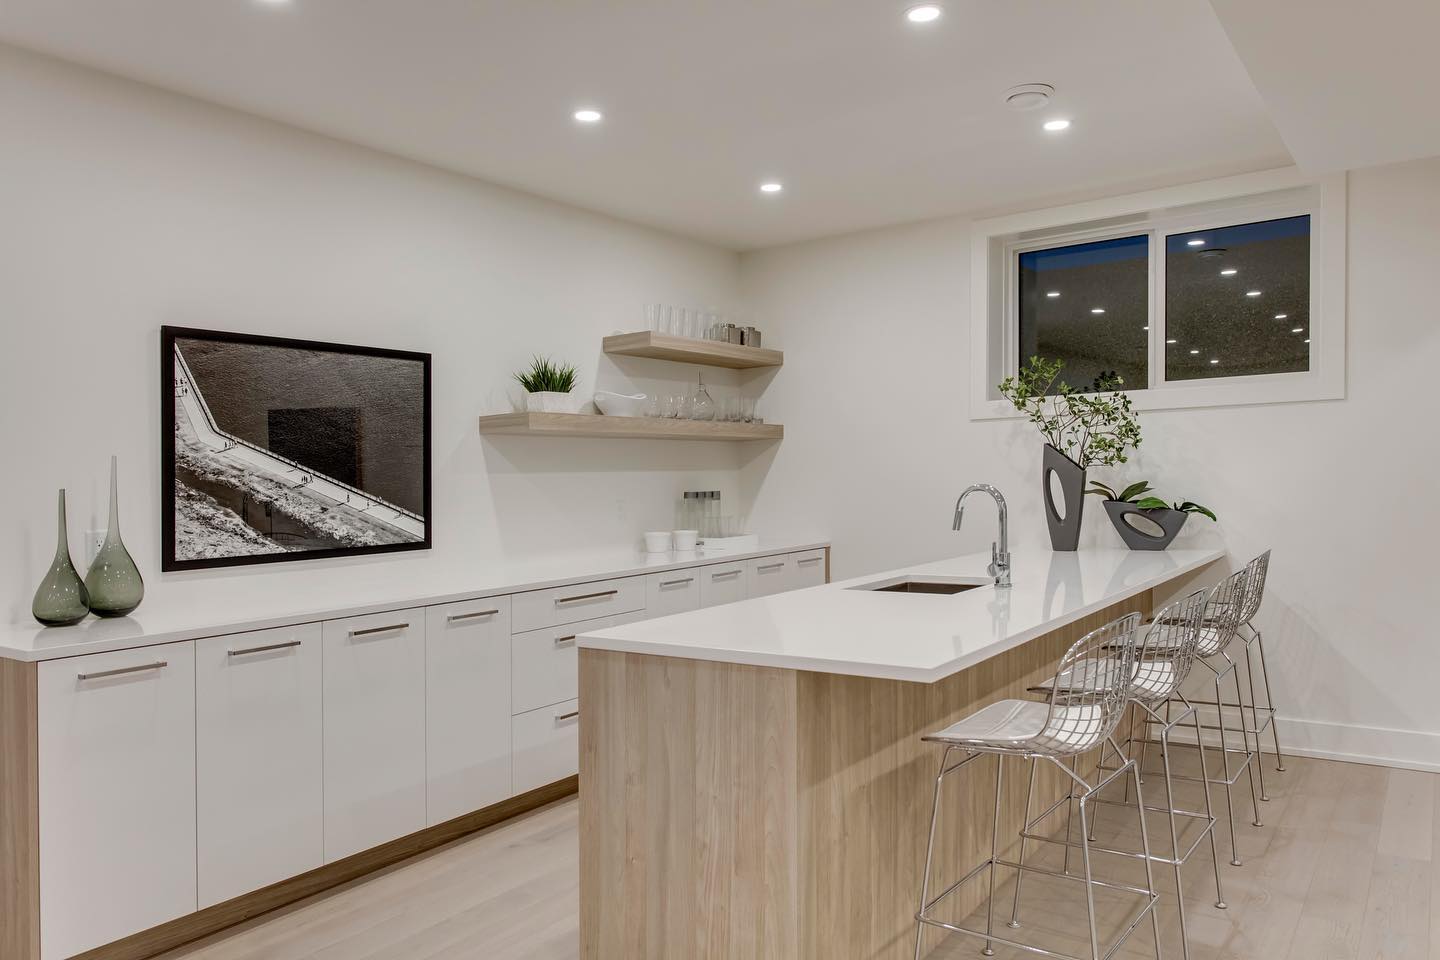
Full-overlay cabinet door installation
The most popular and forgiving choice for DIY installation is full-overlay doors. What makes them easier?
-
The cabinet front frame is covered by a door.
-
Minor alignment errors are not very visible.
-
Concealed hinges provide multi-directional adjustment.
For this reason, full-overlay cabinets are often recommended to homeowners who are installing new cabinet doors for the first time. They're best for DIY projects and door replacements.
How to install inset cabinet doors
Installation of inset cabinet doors leaves little room for errors as they are flush with the cabinet opening. This creates a high-end, clean look.
There are many challenges:
-
Cabinet boxes must be square;
-
Gaps (reveals) on all sides must be consistent;
-
Hinges require exact placement;
-
Seasonal wood movements become noticeable.
Many homeowners underestimate the difficulty of installing inset doors. While a DIY project is possible, it rewards patience and precise measuring over speed.
Corner cabinet door installation and bi-fold systems
Corner cabinets are more complex mechanically than standard doors. Key differences lie in hinge geometry. Corner cabinet door hinge installation must take into account movement paths and not only door position, as doors interact.
Bi-fold cabinet door systems are used in many modern kitchens, especially for blind upper and base corner cabinets.
The installation of bi-fold doors is not the same as just installing two doors:
-
Two doors are operated as a single system.
-
Hinges serve different roles (cabinet-mounted vs door-to-door);
-
The clearance and swing path are more important than the symmetry.
-
The weight of the door is distributed across multiple hinge points
The installation of bi-fold cabinet door mechanisms is often a difficult task for DIY installers. Not because it is impossible, but it is unintuitive.
Flip-up cabinet door installation and lift mechanisms
Flip-up cabinet doors are becoming increasingly popular, especially with upper cabinets.
The installation must be done correctly:
-
The lift system's weight rating must match the door's weight.
-
Hydraulic or spring stays must be mounted symmetrically.
-
Tension adjustment can have a significant impact on usability and longevity.
Whether you are installing a soft-close lift or a hydraulic cabinet-door stay, the precision of mounting will determine whether your door slides smoothly or fights you every time.
Cabinet door hinge installation
If cabinet door installation has a "make or break" moment, this is it.
Many modern kitchens have hidden hinges. They allow for a clean look and can be adjusted after installation. However, there is more than one good choice for hinge types:
-
Concealed hinges (standard and soft-close);
-
Inset hinges, standard and decorative (butterfly hinges).
For both hinge types, success in cabinet door installation is dependent on several key factors. Most hinge-related problems homeowners experience can be traced to one or more of these points:
-
Cup hole depth and placement;
-
Mounting plate alignment;
-
Consistent spacing between hinges;
-
Avoiding over-tightening screws.
It will determine if it is aligned properly, shuts correctly, and feels sturdy years later.
Pro tip: A homeowner often asks how to install new hinges on old cabinet doors. The key to determining if your existing hinge holes align with the modern hinge standards, or if you need plugging and re-drilling.
Are soft-close hinges worth the effort?
Installation of soft-close hinges on cabinet doors adds comfort and reduces wear, but:
-
All hinges should be aligned.
-
The weight of the door must not exceed the specifications for hinges.
-
Initial adjustments can take longer.
Soft-close systems, once installed correctly, require minimal maintenance. They also improve the daily use of your kitchen.
How to install cabinet door hinges
Step 1: Confirm the hinge type and door compatibility
Before drilling any holes, check three things.
-
The hinge type matches your door style (full overlay, inset, or partial overlay),
-
The hinge cup is sized with door drillings (most common 35 mm),
-
The hinge is rated for the door’s weight and thickness.
Step 2: Mark hinge positions on the door
Most cabinet doors use only two hinges. Tall or heavy doors can have up to three hinges.
-
Measure 75-100mm at the top and the bottom of your door.
-
Mark the centre point of each hinge.
-
Keep all spacing consistent across the doors to ensure visual consistency.
Pro tip: If your doors came pre-drilled, confirm hole placement before mounting hinges.
Step 3: Drill or verify the hinge cup holes
-
Use a 35 mm Forstner bit.
-
Stop drilling at the recommended depth by the manufacturer.
-
The drill should be positioned perfectly perpendicularly to the door.
-
Drill slowly and carefully - if you break through the face of the door, it is irreversible.
If the doors are pre-drilled, check:
-
Clean edges,
-
Proper depth,
-
No tear-out inside the hole.
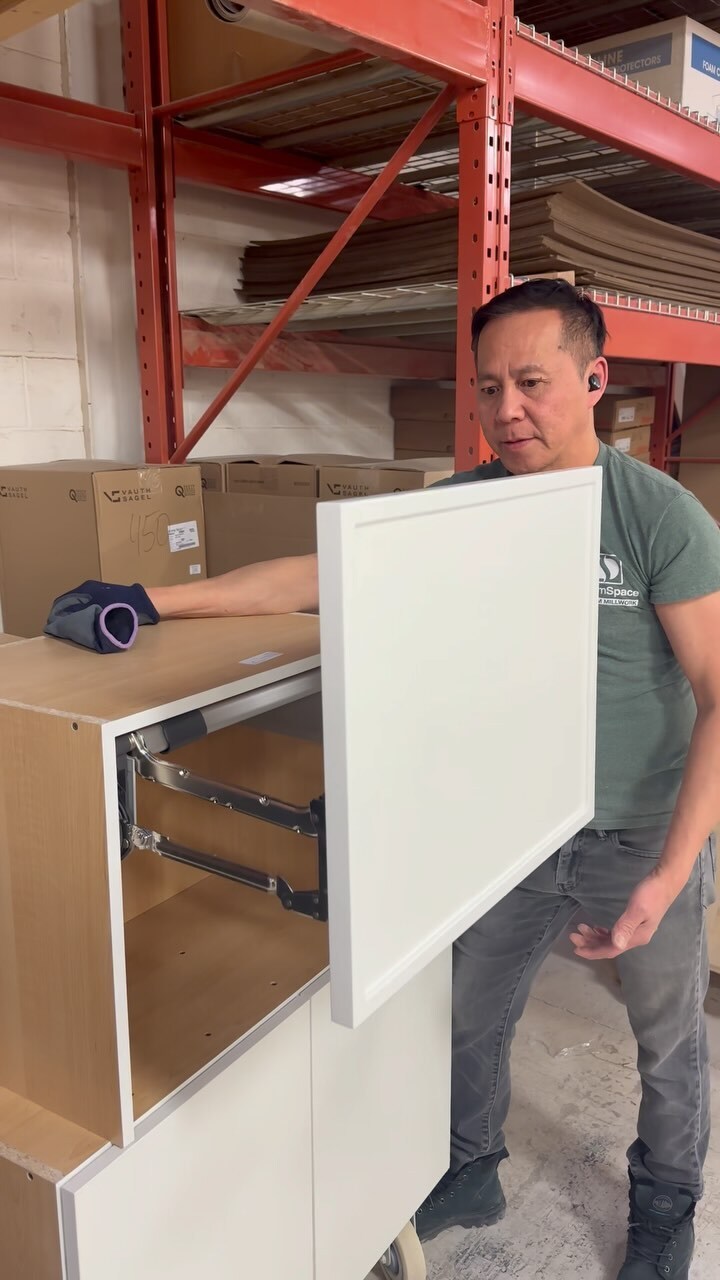
Step 4: Attach hinges to the cabinet door
-
Insert the hinge cup through the hole,
-
Check that the hinge arm seats flush,
-
Secure the hinge using the supplied screws (do not overtighten - the hinge should feel solid but not stressed).
Step 5: Install mounting plates on the cabinet box
-
Hold the cabinet door in position, or use an installation clamp/positioner,
-
Align mounting plates with cabinet edges or face frames,
-
Secure plates to the cabinet box.
The accuracy of your measurements in this step determines how much adjustment is needed later.
Step 6: Attach the door to the cabinet
-
Screw or clip the hinge arm onto the mounting plate,
-
Check if the door opens freely without binding,
-
Do not worry about the perfect alignment - it comes next.
Step 7: Align the hinges
The majority of concealed hinges can be adjusted in three directions.
-
Left / Right - aligns door gaps between cabinets,
-
In / Out - sets door flushness.
-
Up / Down - even door height.
Make minor adjustments, and check them frequently.
Cabinet door handle installation
When it comes to door hardware installation, visual mistakes can be easily spotted. It's not just about drilling holes, but also about consistency in the kitchen.
Let's start by looking at the most popular door styles and the best handle solutions for them.
Shaker doors tend to be paired most often with T-bars or other straight pulls. Handles tend to be mounted vertically on the door and horizontally in drawers. The placement is centred on the rail, which helps maintain visual balance.
For flat or slab doors, bow handles and integrated pulls tend to be the best choice. To create a contemporary look, the handles can be placed close to the edge of the doors rather than in the middle. This emphasizes clean lines and minimal detail.
Raised-panel doors are often fitted with knobs or cup pulls. Handle placement in this case should be based on the raised panel’s geometry, and not solely based on symmetry.
Recessed-panel doors can benefit from knobs, either with or without backplates. Backplates come in handy when you need to cover up old holes or if extra surface protection is required. They help distribute the pressure and visually frame your handle.
Pro tip: Use a cabinet door handle installation template to ensure consistency, especially when installing hardware across multiple doors.
How to install cabinet door handles
The process is the same for all door hardware types, including knobs, pulls, T-bars, cups, and bow handles.
Step 1: Determine the proper handle location
Handle placement is visually evident, and errors are easily spotted. General guidelines are:
-
Shaker doors: centred on stile or rail,
-
Slab/flat doors: close to the edge of the door for a more modern look,
-
Raised panel doors: positioned to respect the shape of the panel, and not cut into it,
-
Drill only after you are sure of the exact handle placement on all doors.
Step 2: Use the template or create a consistent guide
-
Use an installation template for cabinet door handles if one is available,
-
You can also create a cardboard jig with the exact hole spacing,
-
Consistency is more important than exact positioning.
Step 3: Mark hole positions carefully
-
Measure twice,
-
Mark the centers of holes with a pencil or an awl,
-
Level and align the holes,
-
Check that the center-to-center spacing of the pulls meets the handle specifications.
Step 4: Drill the handle holes
-
Drill from the front to avoid tear-up,
-
Use a sharp bit that is sized to fit the screws on the handles,
-
Drill holes straight. Angled holes cause loose hardware,
-
To reduce chipping on the painted doors, apply masking tape over the drill hole.
Step 5: Install the knobs and handles
-
Install the screws at the back of the door,
-
Attach the handle or knob,
-
Tighten with your hands, not by force; overtightening may strip threads and crack wood.
Step 6: Align and fine-tune
Before securing fully:
-
Make sure that the handle is positioned straight.
-
Make sure it is flush with the surface of the door.
-
If necessary, adjust the angle slightly.
Pro tip: Do not install handles before doors have been hung.
After you are satisfied, tighten the screws gently. Next, check the outcome. The handle should be firm and comfortable. Open and close doors. Make sure handles are solid. Verify visual alignment in the entire kitchen.
Installing glass inserts in cabinet doors
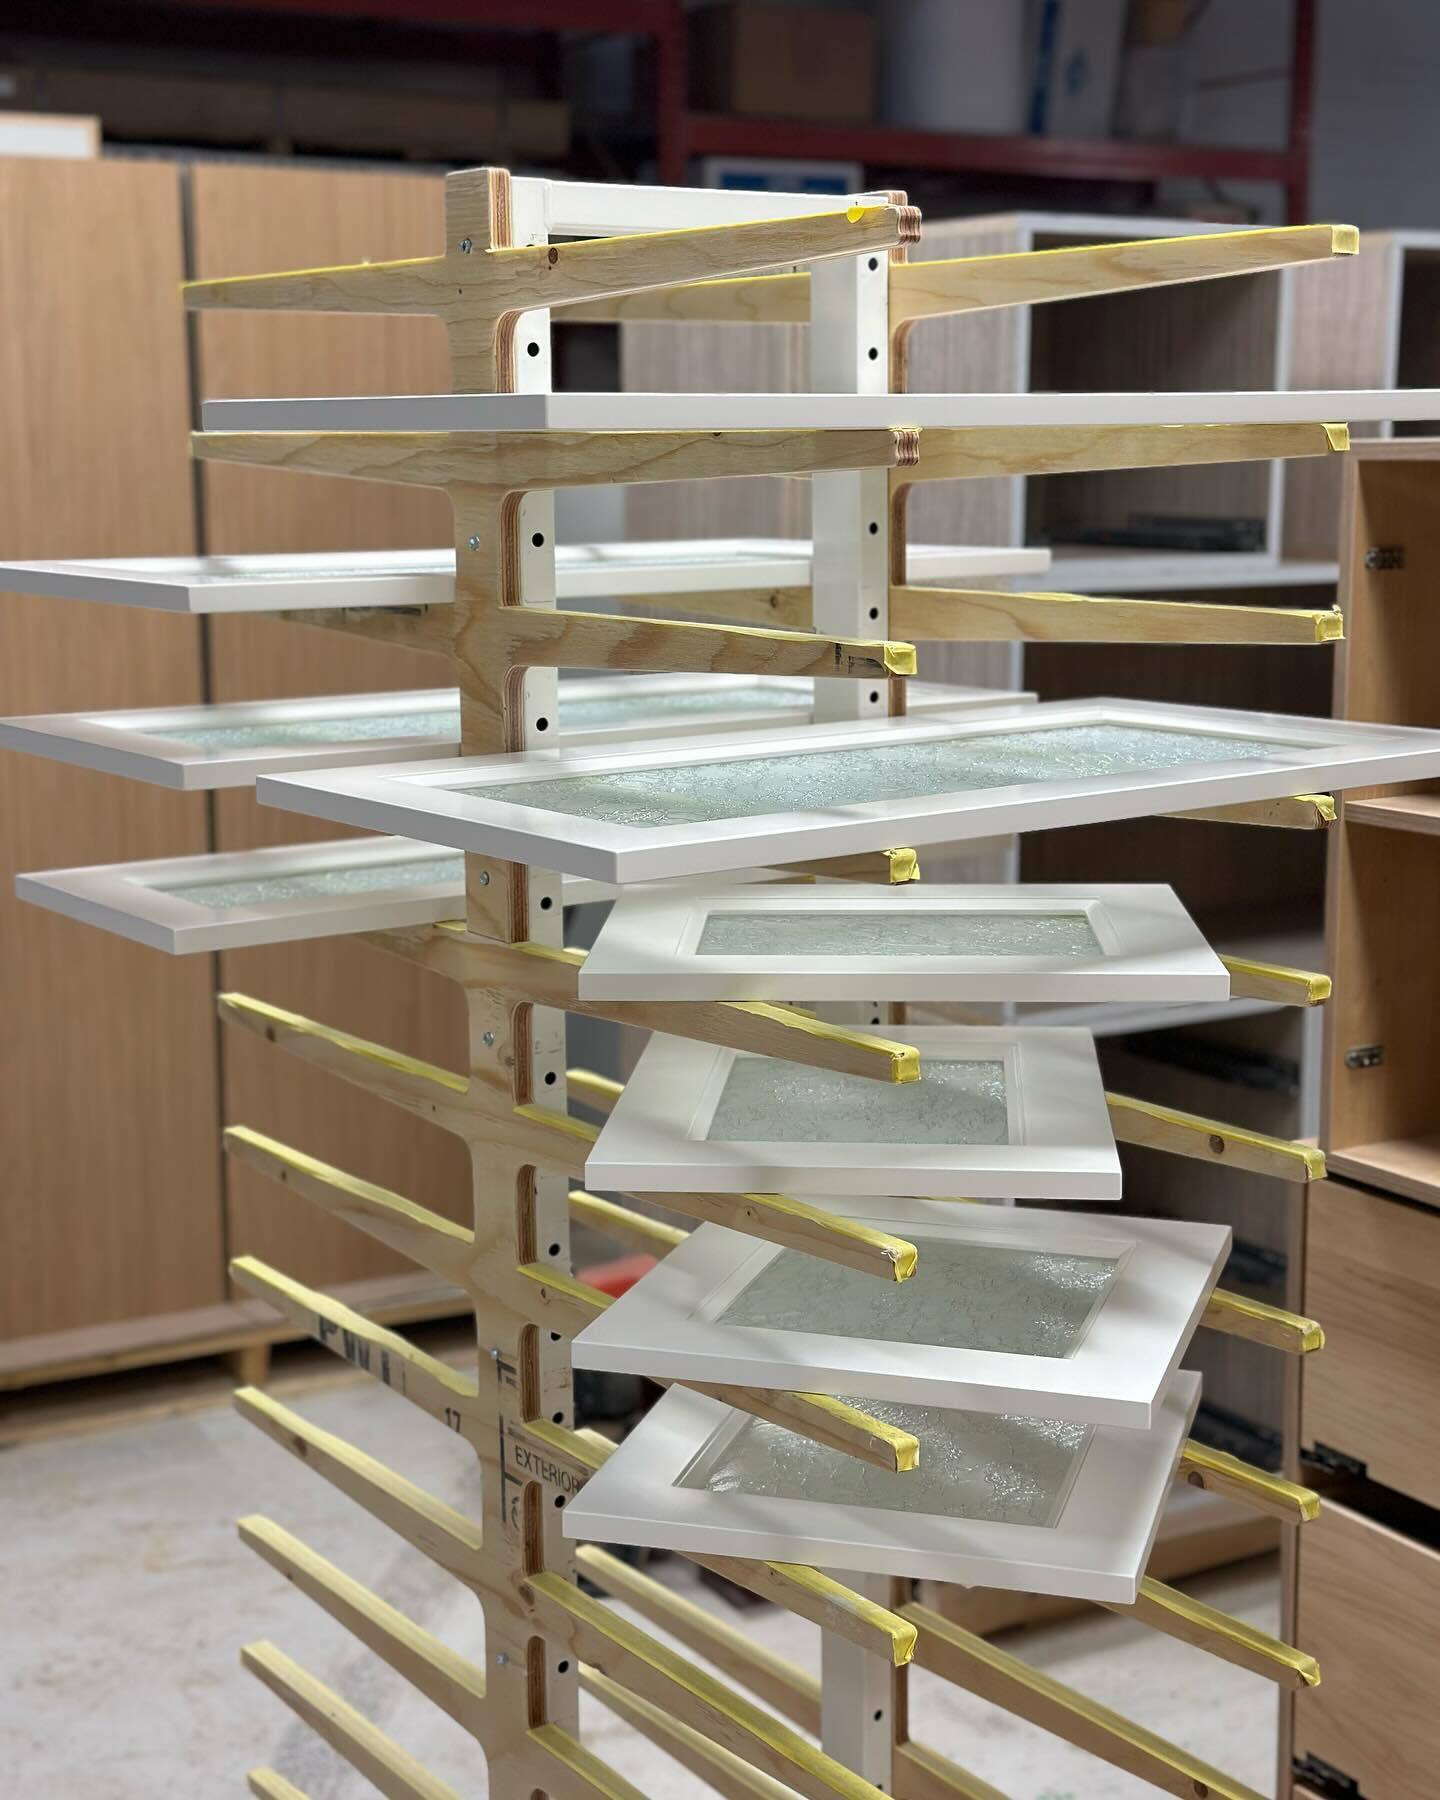
Glass inserts provide visual depth but require a different handling compared to solid panels.
Some common ways to install glass inserts in cabinet doors include:
-
Retainer clips,
-
Silicone setting,
-
Wooden stops.
Installing glass in cabinet doors with silicone is popular for a clean, modern look. This gives a modern and clean appearance, but requires precise spacing, a long curing time, and a careful curing process.
Glass inset installation process:
-
Place the door on its back, face down, onto a clean and padded surface. If your door already has a glass rabbet or groove, remove all dust and debris.
-
Be sure to measure the opening accurately and ensure that the glass panel has been cut slightly smaller to allow for expansion.
-
Use spacers or small rubber blocks at the bottom of the groove to prevent the glass from resting directly on the wood.
-
Lower the glass gently into the opening and center it evenly on all sides. Avoid pushing glass into the opening, as this could cause it to break.
-
Install wooden stops or glass retainer clips to secure the glass in position. They should be tightened just enough for the glass to remain stable.
-
Apply a thin bead of silicone along the inside edge of the groove and press the glass lightly into it.
-
Remove any excess silicone and let it cure completely before you rehang the door.
-
Reinstall the cabinet's door and check to see if it closes and opens smoothly.
Small add-ons that improve cabinet door use
Small additions are often overlooked but can add great value.
Restrictor clips limit how far a cabinet door can open. This prevents doors from hitting appliances or walls nearby, and also reduces wear on hinges. They are very useful for tight spaces, such as prep kitchens or corner cabinets.
Cabinet door locks are often installed to ensure the safety of children or meet requirements for rental properties. Modern locking systems can be easily operated and add security without changing the look or functionality of cabinets.
How to avoid common mistakes
Even the most experienced and careful DIYers can run into problems after installing cabinet doors and putting their kitchen back into use.
Hinges and handles may become loose, or the gaps can widen. These problems don't always mean that the hardware or doors are defective. More often, they point to the cumulative effect of small inaccuracies during installation - doors adjusted before shelves were loaded, or hardware installed before final door alignment was complete. It can be more expensive to fix these issues after the fact than to hire a professional initially.
Labour cost to install cabinet doors
Knowing when to stop and call in a millwork specialist is sometimes the best decision.
|
Service |
Average labour costs |
Notes |
|
Replace or install a single cabinet door |
CA$40 - $100 per door |
Based on regional contractor prices for removing and replacing old doors with new ones (including hinges and alignment). |
|
Handle + hinge Installation (per door) |
CA$15 - $40 per door |
Drilling and aligning the hardware can add a modest amount of time. |
|
Full kitchen cabinet door replacement (10-15 doors) |
CA $400 - 1,500 |
Estimation based on $40 to $100 per door. Materials cost extra. |
Professional installation can save you money by preventing costly mistakes, especially when it comes to the installation of inset doors, lift mechanisms or corner systems.
DIY smart, not just cheap
Installing cabinet doors on your own can be a cost-effective and satisfying upgrade. But precision matters.
If you're ever unsure:
-
Start with a single door;
-
Use jigs instead of guessing;
-
For complex mechanisms, don't hesitate to call an expert.
At Cut2size, we design our cabinet doors so that installation is as simple as possible, whether you are working on the project by yourself or with a professional.
For a great kitchen upgrade, don't rush. You only need to do it once, and it's worth doing it right.