Bathroom Planning Principles - Ergonomics and Area Measurements
You may be feeling overwhelmed with bathroom planning and design. You're not alone - many homeowners soon discover that renovating the bathroom requires more than just choosing tile or vanity options. Instead, renovating involves understanding the best way to plan the layout and make it more efficient.
When it comes to planning a bathroom, Pinterest is a great source of inspiration. But it often leaves you feeling unsure when it comes to the actual planning of your project.
-
Where should the vanity go?
-
How big should the shower area be?
-
What are the wet and dry bathroom zones?
Understanding the basic rules and guidelines of planning a new bathroom is key to avoiding costly mistakes, such as poor lighting placement or awkward corners that are left without purpose.
This Cut2Size article breaks down the basic bathroom planning rules and interior zoning principles that every homeowner should understand before hiring a contractor. We'll go over the basic principles of bathroom layout planning, ergonomics, and measurements. This will be combined with advice from renovation and design experts.
Key bathroom planning rules & guidelines
Bathroom planning begins long before the first tile is laid or the new sink arrives. It begins with bathroom layout design rules, essential guidelines that determine how the space functions on a day-to-day basis.
The foundation of bathroom space planning
The three most important elements of a well-planned bathroom are:
-
Functionality involves making sure each fixture has enough clearance and is placed logically
-
Flow determines how a person moves between the vanity, toilet and shower or bath.
-
Safety involves managing humidity levels, electrical fixtures and slip-resistant surfaces.
Professional designers are often guided by the National Building Code of Canada (NBC), the CSA accessibility standard and the local building codes, which set overall standards as well as bathroom optimal arrangements and comfort for accessibility.
Here are their design recommendations:
|
Element |
Minimum clearance (code/functional minimum) |
Ideal measurement (design comfort) |
Explanation |
|
Front of toilet |
600 mm (24 in) |
760–800 mm (30–32 in) |
Provides easy access and comfortable legroom, particularly for users who are taller or use mobility aids. |
|
Center of toilet to side wall or obstruction |
380 mm (15 in) |
450 mm (18 in) |
Prevents crowding while allowing for the proper alignment with grab-bars or side cabinets. |
|
Front of vanity or sink |
760 mm (30 in) |
900 mm (36 in) |
Allows for easy access to drawers and freely moving between the vanity and the opposite wall. |
|
Shower interior size |
800 × 800 mm (32 × 32 in) |
900 × 1200 mm (36 × 48 in) |
This allows comfortable movement. If needed, it can also accommodate a bench or handheld shower. |
|
Doorless shower splash zone |
900 mm (36 in) beyond the opening |
1200 mm (48 in) if space allows |
Keeps adjacent flooring safe and dry by preventing water spillage. |
|
Distance between major fixtures (toilet–sink–shower) |
750 mm (30 in) |
900 mm (36 in) |
Prevents congestion and ensures ergonomic flow. |
|
Clear floor space at sink (for accessibility) |
760 × 1220 mm (30 × 48 in) |
810 × 1370 mm (32 × 54 in) |
Supports universal design and ensures clearance for wheelchair users. |
|
Ceiling height above fixtures |
2100 mm (83 in) |
2300 mm (90 in) |
Provides efficient ventilation and accommodates light fixtures comfortably. |
Understanding measurements when planning bathroom remodels will save time and avoid future frustration while making sure your new bathroom feels intuitively spacious and relaxing.
Bathroom remodel planning step-by-step guide
-
Assess the existing structure. Identify any walls, electrical lines, or plumbing stacks that cannot be moved.
-
Define your needs. Decide whether you are planning to remodel the bathroom for resale, accessibility or other purposes.
-
Create a floor plan. Use graph paper or design software to indicate fixture placement and circulation routes.
-
Estimate your budget. Include demolition costs, materials and contingencies (10% to 15% is common).
-
Plan ventilation and lighting. Both are essential to a healthy home environment.
-
Choose durable materials. Bathrooms have high levels of moisture and humidity, so surfaces must be able to withstand heat and water.
Avoid common bathroom planning mistakes like poor lighting placement, inadequate storage or neglecting the waterproofing stage.
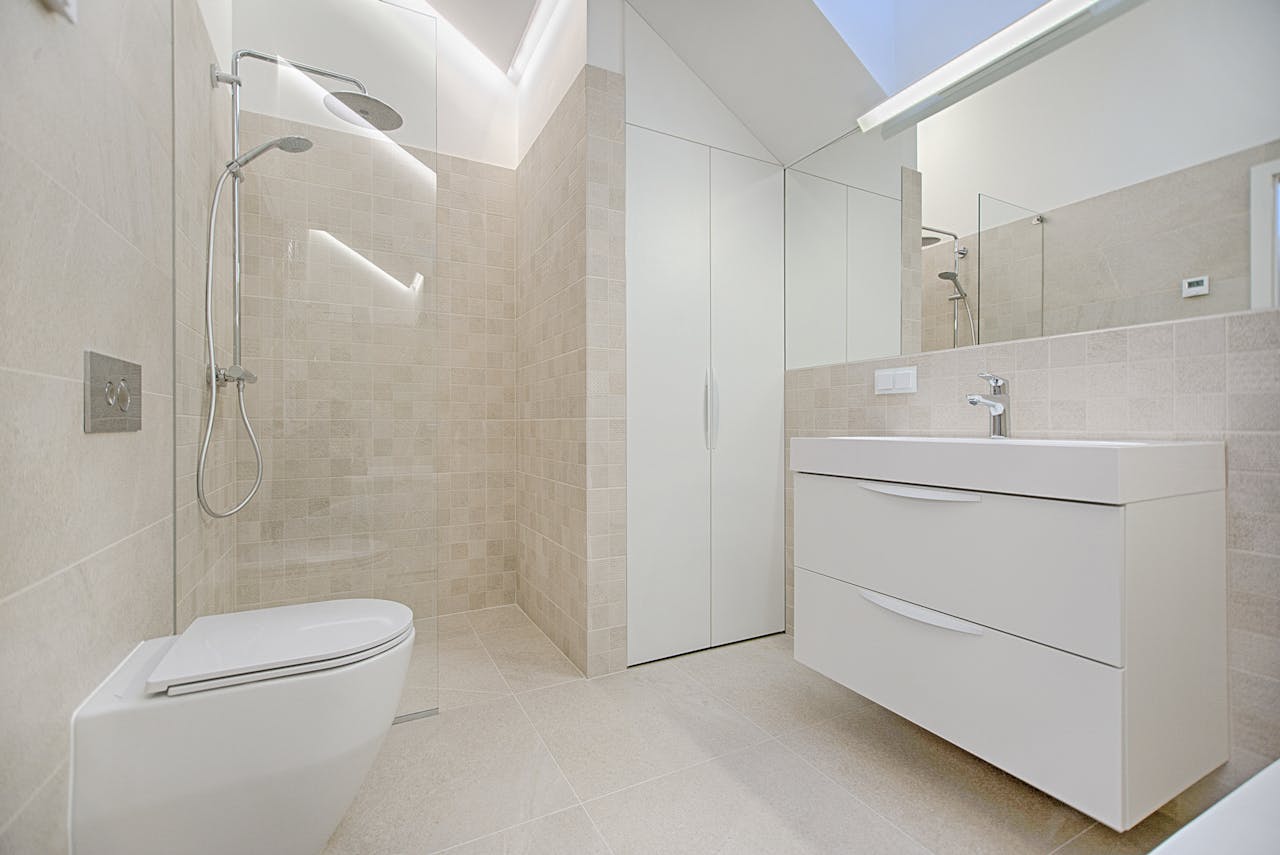
Bathroom functional zoning and dry/wet areas
After the fundamental layout has been decided, you should consider how to make the most of the space. Modern bathrooms are divided up into functional areas, each serving a particular purpose, such as washing, bathing and sanitation.
A well-planned bathroom creates a smooth flow. Ensuite bathrooms allow multiple users the comfort of sharing the space.
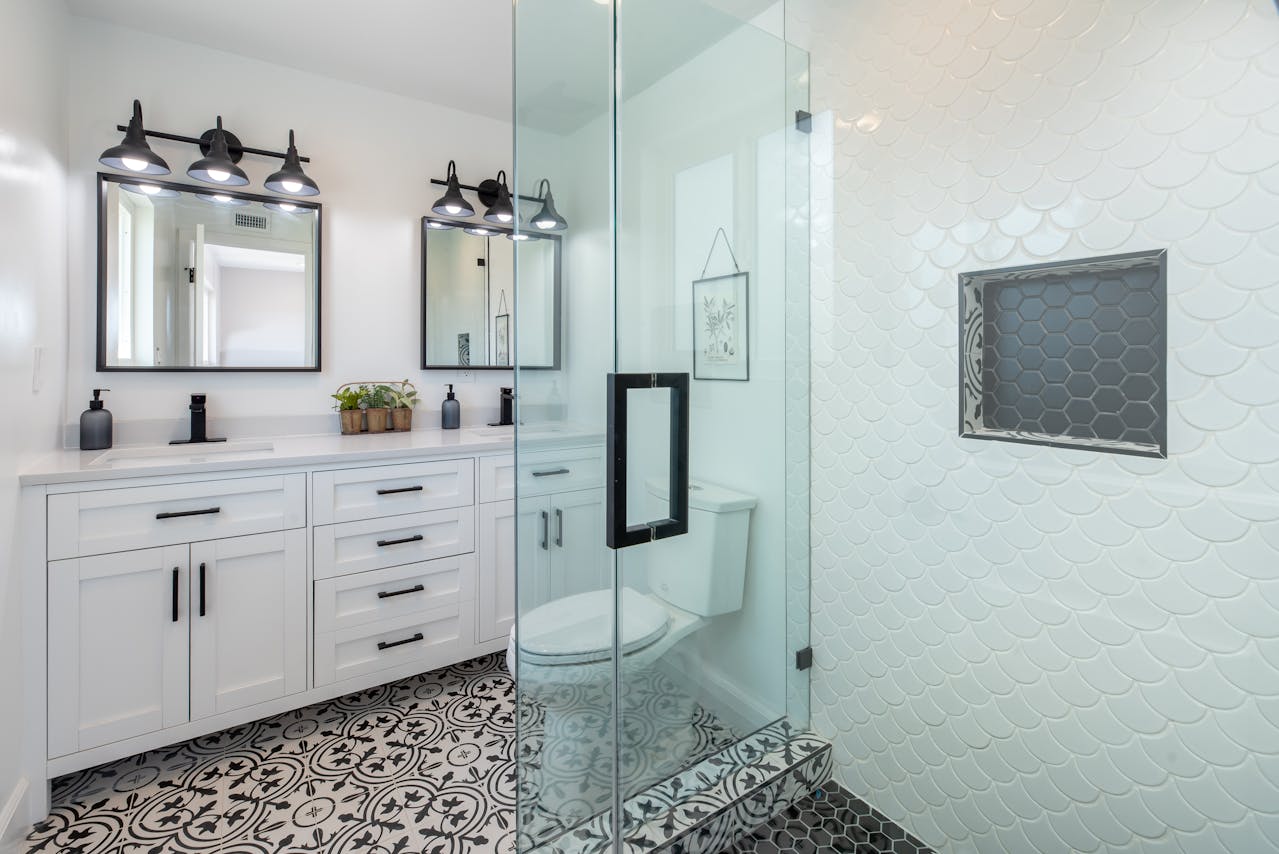
Wet and dry zones explained
Bathroom dry and wet areas are the concept that designers use to prevent moisture damage:
-
Wet zones include the shower, bathtub, or even a vanity if it is prone to splashes.
-
Dry zones include the toilets, storage, and dressing area.
It is important to separate wet and dry areas in the bathroom. This will keep moisture out, increase material longevity, and enhance safety. For a proper dry/wet separation in a bathroom, you may utilize partitions, half walls, or changes in flooring texture as visual and physical markers of divided space.
Some common bathroom wet and dry area separation ideas include:
-
Installing fixed shower screens or glass panels;
-
Use sloped flooring to direct the water towards drains;
-
Slightly elevating the dry area;
-
Choose moisture-resistant finishes and sealants.
It is equally important to waterproof and ventilate different zones accordingly. This will determine the durability of the material over time. Proper airflow through windows, vents and fans prevents mould, and preserves the air quality.
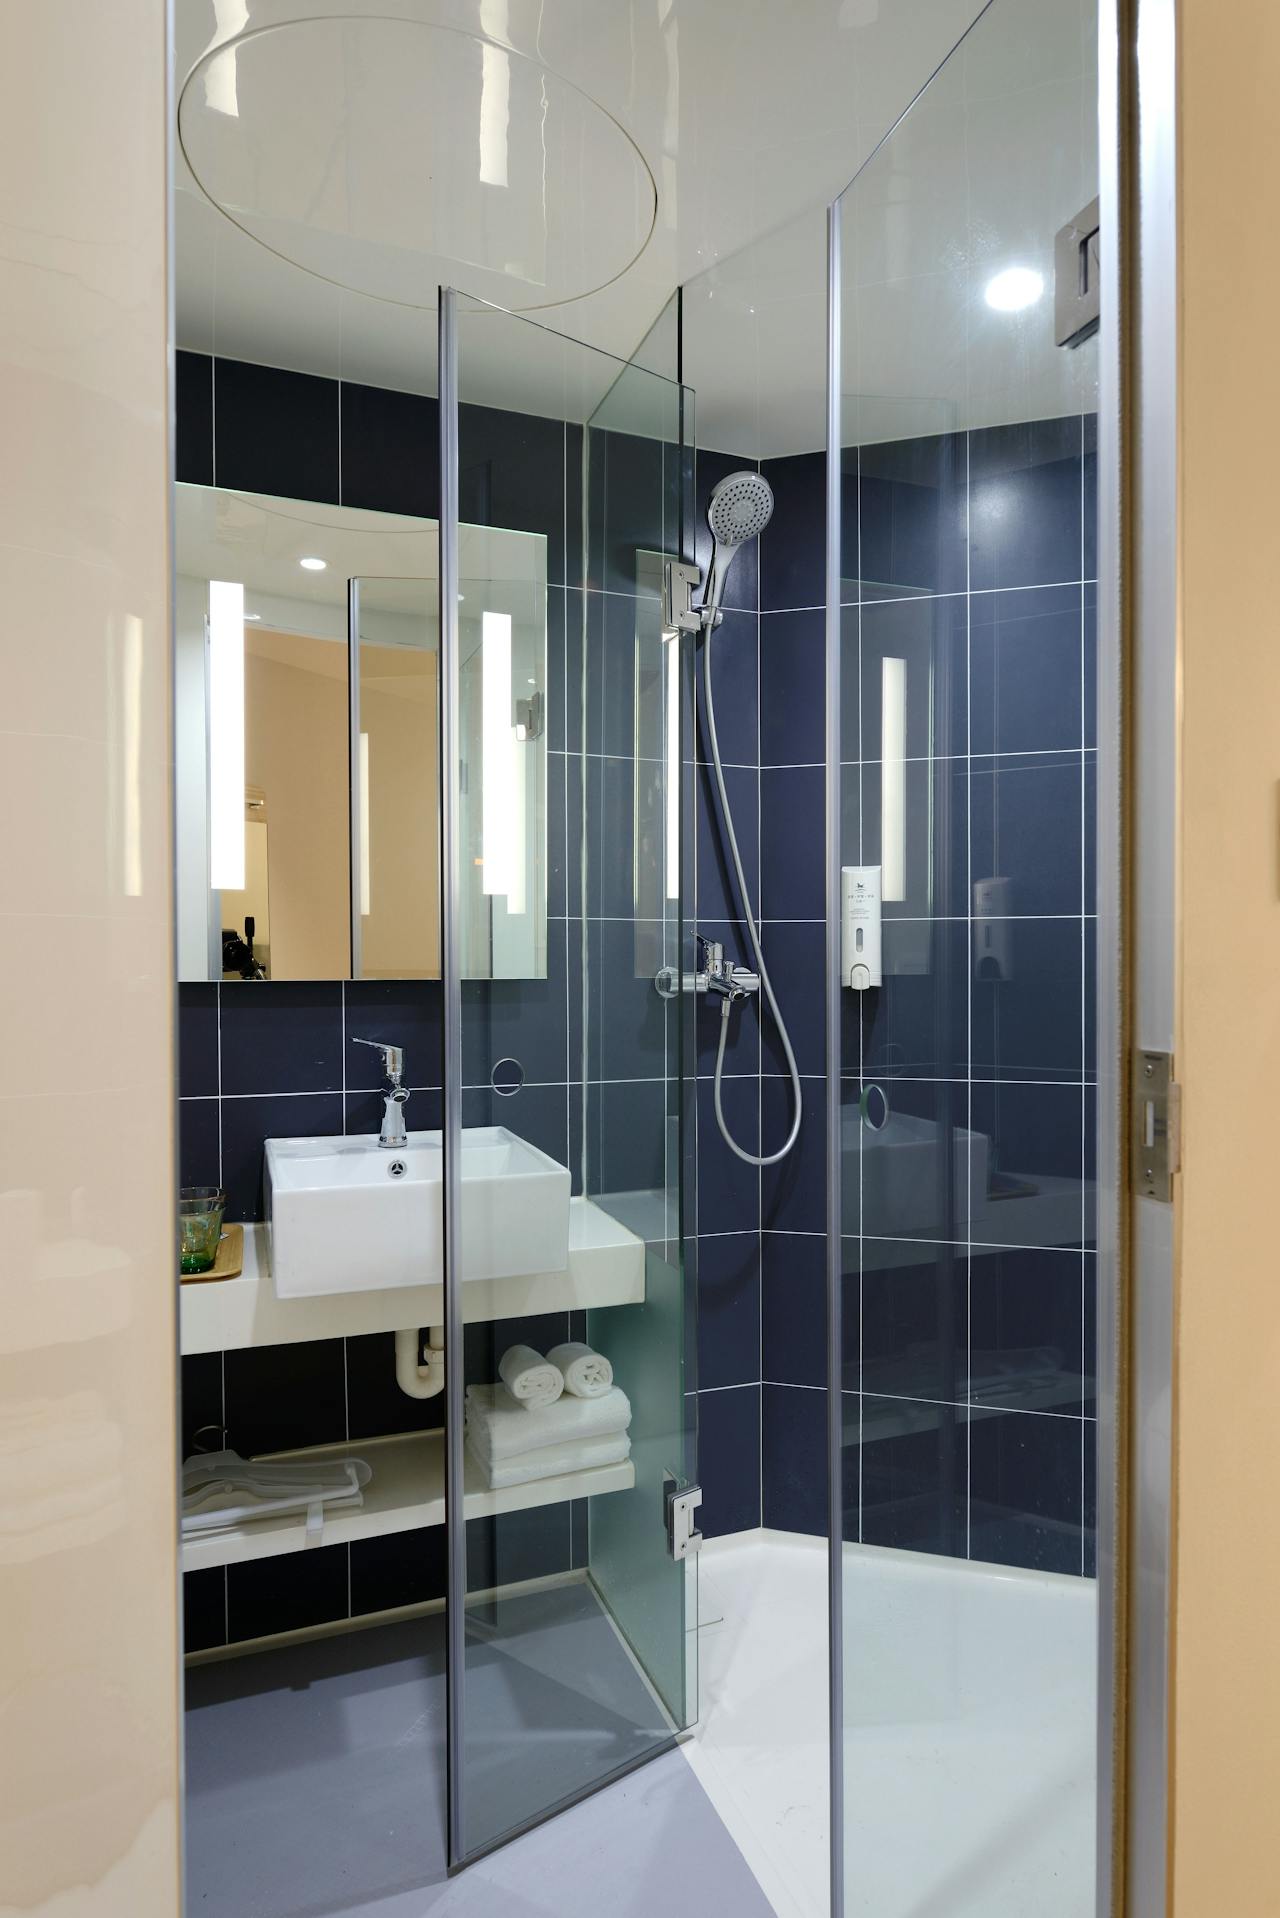
Shower and bath zone planning
The shower and bath areas are typically the main focal points of the bathroom. Their size and location will determine the overall feel of a space.
|
Element |
Minimum |
Recommended |
Notes |
|
Shower area size in the bathroom |
800 × 800 mm (≈ 32 × 32 in) |
900 × 1200 mm (≈ 36 × 48 in) |
Larger showers provide greater freedom of movement. |
|
Doorless shower splash zone |
900 mm (≈ 36 in) beyond the opening |
1200 mm (≈ 48 in) if layout allows |
Helps to keep the surrounding floor dry and supports open-concept designs. |
|
Bathtub area |
1525 × 750 mm (≈ 60 × 30 in) |
1675 × 915 mm (≈ 66 × 36 in) |
For ease of cleaning and access, a minimum clearance of 600mm (24 inches) should be maintained on the long side. |
|
Distance between the tub and other fixtures |
750 mm (≈ 30 in) |
900 mm (≈ 36 in) |
prevents congestion and makes it easy to enter or exit the tub. |
|
Combined wet area (tub + shower) |
1600 × 1600 mm (≈ 63 × 63 in) |
1800 × 2000 mm (≈ 71 × 79 in) |
Fits well into compact condo bathrooms; can accommodate glass partitions or halves. |
Layered lighting adds depth and dimension to a bathroom shower area design. Combine recessed ceiling lights with wall-mounted fixtures for an inviting spa-like bathroom atmosphere.
Toilet area design and dimensions
The toilet area is often overlooked, although it deserves the same attention as planning a shower. When adhering to building codes, a well-designed toilet area promotes privacy and hygiene.
Optimal toilet dimensions:
-
In a toilet space, you should ensure that it is 760 mm-900 mm (30-36 inches) wide. This will allow enough shoulder room, as well as a comfortable clearance on both sides, especially near walls or vanities.
-
It is recommended that the minimum footprint be 760x1525mm (30x60 in) for easier cleaning and to accommodate grab bars or shelving behind the toilet.
-
Allow a minimum of 530mm to 760mm (21-30in) of clear floor space in front of the toilet bowl. This allows for ease of access and movement by all users, including those who are using mobility aids.
If the bathroom is shared, consider including a half wall or frosted partition to add visual privacy and prevent splashing.
As part of the splash zone around the toilet, ensure there is at least 300mm - 457mm (12-18in). This distance helps prevent moisture build-up while upholding hygiene.
Ensure waterproofing in the toilet area matches the standards in the shower zone, particularly around joints and corners.
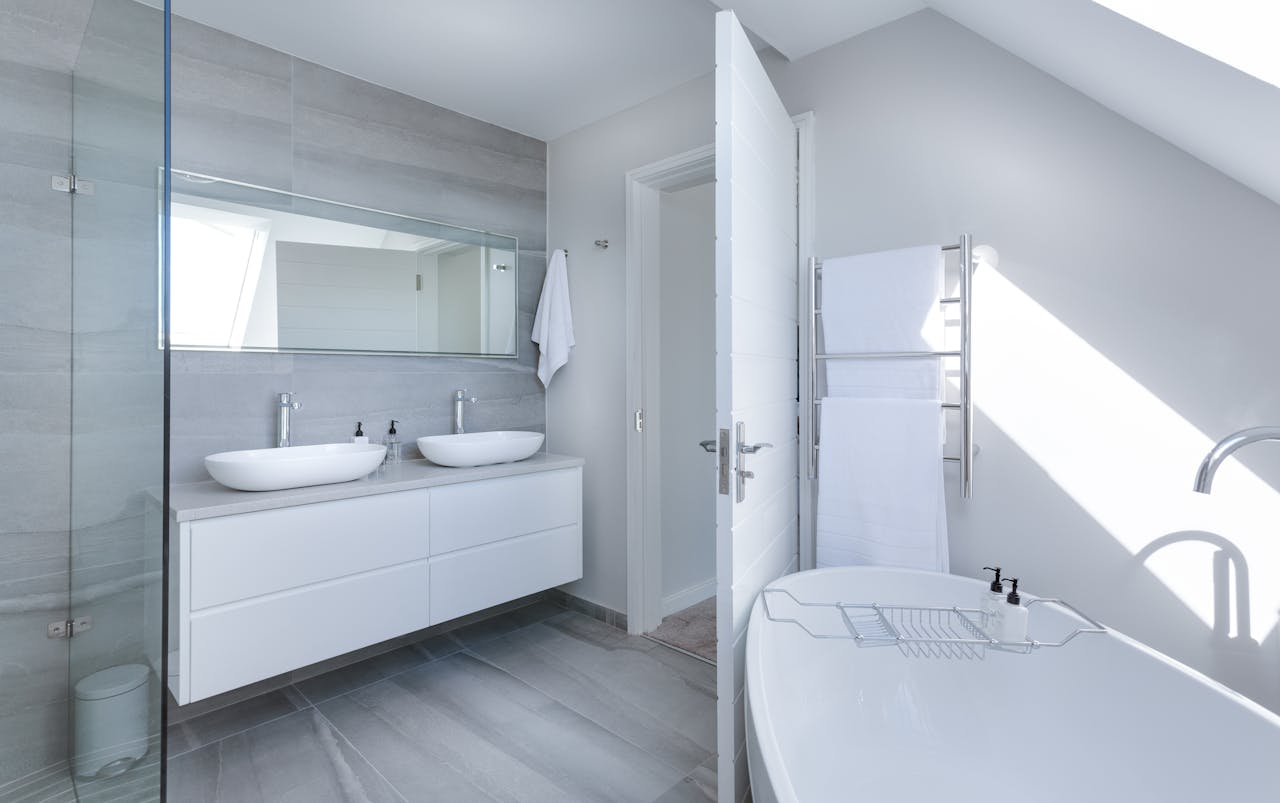
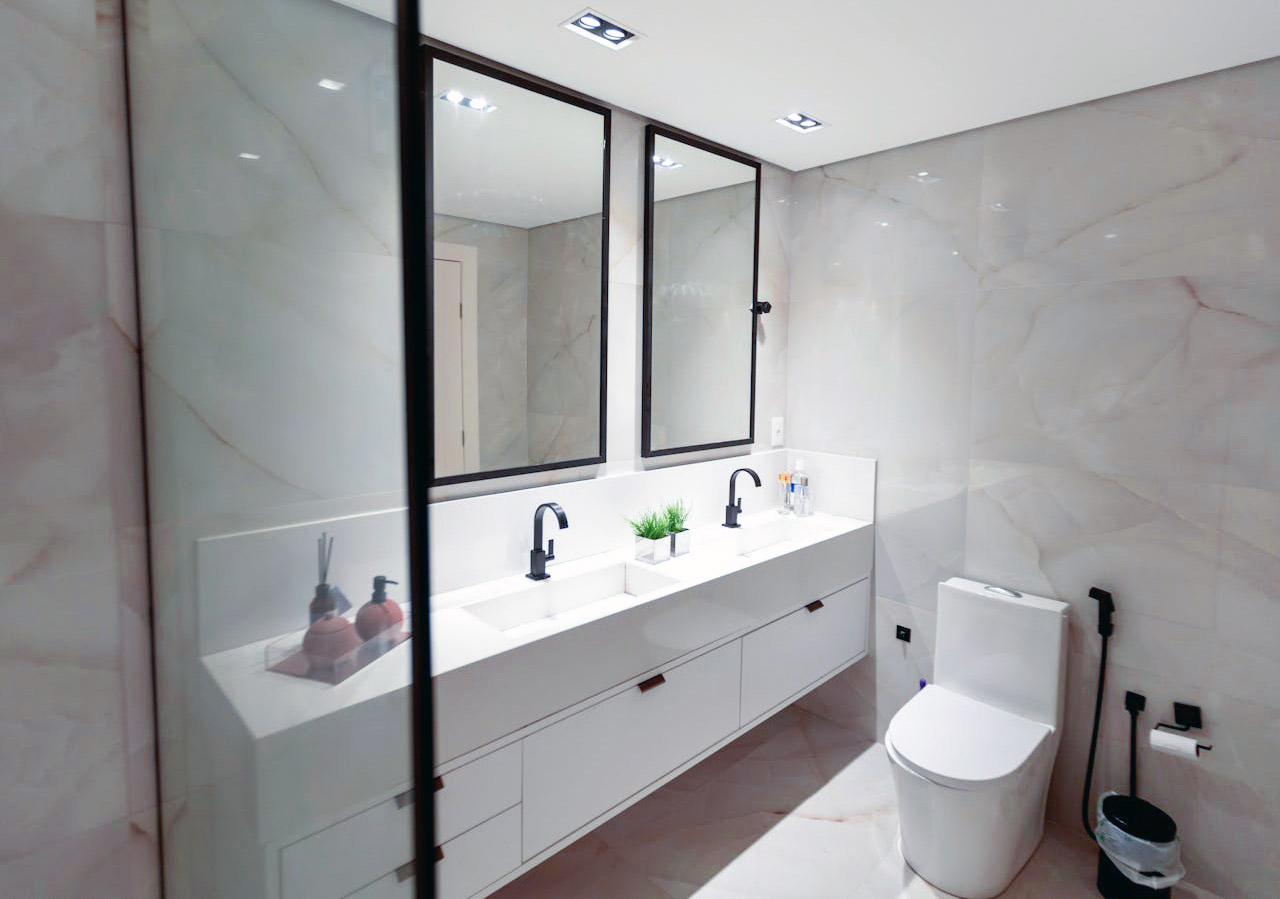
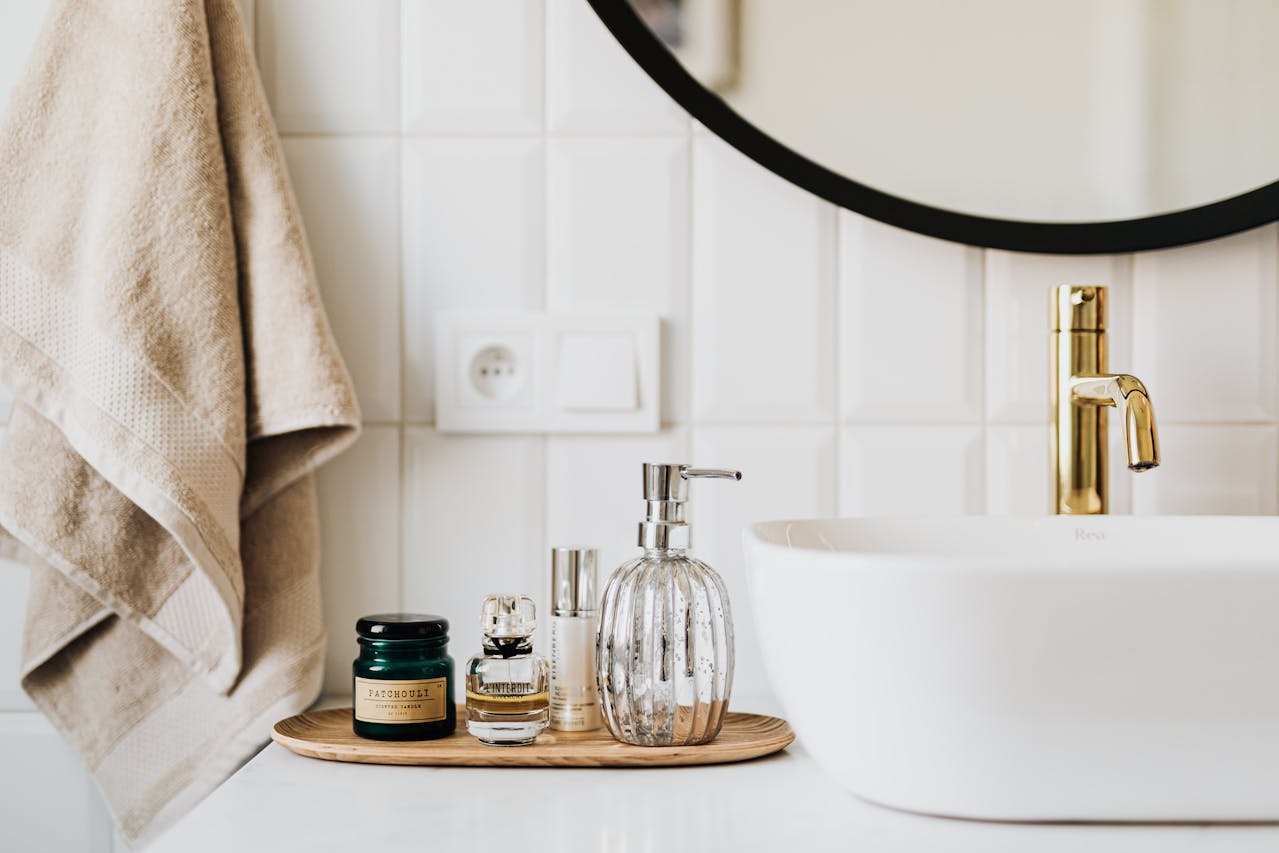
Sink and vanity zone
The vanity area is the most used part of the bathroom. A good design should integrate aesthetic balance, bathroom sink ergonomics and storage convenience.
The following are the ergonomic standards that you should follow to ensure the best possible bathroom vanity use:
|
Fixture |
Average height/size |
Notes |
|
Bathroom sink height |
810–915 mm (32–36 in) from finished floor |
Standard for most adults; adjust lower (760 mm / 30 in) for universal or child-friendly design. |
|
Vanity depth |
500–610 mm (20–24 in) |
Provides comfortable reach to the faucet and mirror without crowding the walkway space. |
|
Sink area width |
Minimum 610 mm (24 in) per user; 900 mm (36 in) for shared vanities |
Ensures enough elbow room |
|
Countertop height (with vessel sink) |
760–840 mm (30–33 in) |
The lower base is designed to compensate for the additional height of the sink and maintain ergonomics. |
|
Mirror height above floor |
1050–1150 mm (41–45 in) to mirror bottom |
Positions the reflections at the eye level of most users. |
When planning a bathroom vanity area, consider whether the layout allows for seated grooming or makeup application. A bathroom vanity with sink and seating area can be a luxurious addition to master bathrooms.
A floating vanity in a bathroom is a great option for smaller spaces. It improves the airflow and gives a feeling of spaciousness.
Bathroom cabinet arrangement
Storage should be part of the bathroom cabinet planning process. Align the cabinetry with the main functional zones such as the vanity, linen and utility cabinets. This will ensure that they all serve a specific purpose without disrupting traffic flow.
Avoid deep cabinets that are directly opposite fixtures whenever possible. Use drawers that have built-in organizers. Mirror vanity cabinets are great for storing daily essentials. To store cleaning supplies, consider hidden compartments.
Bathroom ergonomics measurements
While zoned spaces dictate how the room is divided, bathroom ergonomics ensure that each element works in harmony to provide human comfort. Ergonomics in bathrooms combines design with usability, ensuring that height, spacing and reach of fixtures are appropriate for each user.
|
Fixture |
Recommended height/distance |
Comfort rationale |
|
Towel rail |
1220–1320 mm (48–52 in) from the floor |
Allows for easy access after showering or bathing without stretching. |
|
Shower controls |
965–1220 mm (38–48 in) from the floor |
Positioned comfortably to adjust the temperature without leaning into the spray. |
|
Toilet paper holder |
660 mm (26 in) height, 200–300 mm (8–12 in) from toilet front |
Allows for avoiding twisting motions and ensures natural reach. |
|
Toilet seat height |
430–485 mm (17–19 in) |
Is ideal for people who have difficulty moving, such as seniors or those with limited mobility |
|
Grab bars (for accessible or aging-in-place bathrooms) |
840–915 mm (33–36 in) from the floor |
Provides a stable support when sitting, standing or moving to the bathroom or shower. |
|
Clear walking space between major fixtures |
Minimum 760 mm (30 in) |
Maintain fluid movement between the toilet, shower and vanity areas. |
If you have an ergonomically designed bathroom, it will be intuitive for your body to use. Every fixture, handle and surface should be located where the user expects them. Whether you live in a downtown condo or suburban home, the bathroom ergonomics must prioritize comfort, adaptability, and safety today, as well as be ready to evolve with your family's changing needs, like accommodating children and aging homeowners alike.

Bringing it all together
Bathrooms that look stunning, but feel cramped, foggy, or uncomfortable, will lose their charm quickly. The best bathroom renovations combine planning rules, functional zoning, and ergonomics in a seamless design.
If done correctly, you will have an area that:
-
Has a natural flow between the wet and dry zones.
-
Feels easy to use for everyone in the house.
-
Has proper waterproofing and ventilation for remaining safe and beautiful for years.
A bathroom renovation can be a complex project, but with the right planning, you can make it work for your family. Use these guidelines to help you create a bathroom layout that is comfortable, efficient, and feels natural.