Bathroom Resurfacing: Tips, Tricks, and Cost-Effective Solutions
Let's talk bathroom troubles - specifically, those pesky water damage bathroom issues that can turn our bathrooms into a bit of a headache. We've all been there: that moment when a leaky faucet or a sneaky drip starts wreaking havoc, causing bathroom water damage to walls, water damage on the ceiling under the bathroom, and damage to floors, and cabinets.
Water damage in the bathroom is a common issue that can stem from various sources. Have you ever experienced a slow, persistent drip from a faucet or showerhead? That seemingly innocent leak can lead to mould growth, staining, or even structural damage if left unchecked. Plus, poorly sealed grout or caulk around showers or tubs can allow water to seep into hidden spaces, causing damage beneath the surface.
In this blog, we'll dive into bathroom water damage repair that you, as a homeowner, can tackle to combat these water-related woes. From fixing minor leaks to resealing and maintaining bathroom fixtures, we'll cover practical steps you can take to prevent and address water damage.
We understand the frustration and stress that come with dealing with these issues. That's why our goal is not just to inform but also to empower you with actionable tips and tricks. Think of this blog as your go-to guide, designed to assist you in safeguarding your bathroom against water damage and preserving your sanctuary.
Importance of timely repairs and preventive measures
When not addressed immediately, bathroom issues can lead to bigger problems. The cost of bathroom floor repair and water damage is not cheap. Since water damage affects the structural integrity of a space, bathroom water damage repair costs can be more expensive than doing a full-blown renovation. This is why it is important to address issues when they arise. This section will shed light on the common causes of these damages and how you can prevent them.
Repairing bathroom floors
Bathroom floors endure a daily battle against moisture, making them susceptible to various forms of damage. Loose tiles, cracked grout lines, or worn-out caulking are common examples of water damage in bathroom floors allowing water to infiltrate the floor's layers. Water damage under bathroom sinks often leads to structural issues, fostering an environment for mould growth or even compromising the flooring material itself. Over time, this can escalate into a costly repair job, undermining the stability and aesthetics of your bathroom.
Prevention becomes paramount in safeguarding your bathroom floor against water damage. Regular inspection is key - keep an eye out for any signs of wear and tear. Address loose tiles promptly, regrout areas showing signs of deterioration, and regularly maintain caulking around wet areas like the tub, shower, and baseboards. To avoid future repair bathroom floor water damage, consider using water-resistant materials during repairs or renovations to fortify your bathroom floor against moisture. These proactive steps not only preserve the floor's integrity but also save you from potential headaches down the road.
Wall water damage
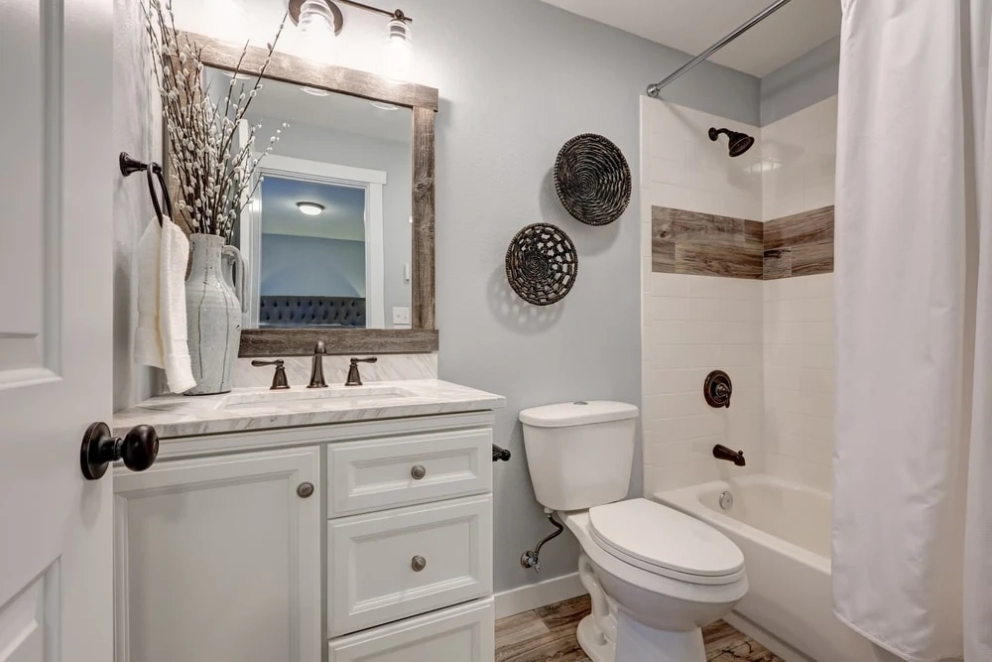
Bathroom walls might seem sturdy, but they're not impervious to water's sneaky ways. Bathroom wall water damage often arises from poorly sealed fixtures, plumbing leaks, inadequate ventilation, or excessive bathroom wall moisture damage. When fixtures like showers or sinks aren't properly sealed, or if plumbing develops leaks, this causes water damage to bathroom walls. Inadequate ventilation traps moisture, creating a breeding ground for issues like mold or weakened wall structures. These factors collectively weaken the integrity of the walls, leading to stains, peeling paint, or soft spots.
How to repair bathroom wall water damage? To repair bathroom wall water damage, staying proactive is the name of the game. Scan for odd stains, peeling paint, or soft spots on those walls. If you spot them, get on fixing that funky caulking around fixtures pronto and squash any plumbing leaks ASAP. Amp up ventilation in your water-damaged bathroom wall to keep moisture at bay, and think about adding a shield with waterproof paints or sealants. These steps lock moisture out, keeping your walls strong and your bathroom in top shape.
Ceiling water damage
Bathroom ceiling water damage often starts from leaks in plumbing or fixtures located above the ceiling. A leaky pipe, an improperly sealed shower or bathtub, or even inadequate ventilation can allow water to seep into the ceiling material. Over time, this moisture buildup weakens the ceiling structure, leading to discoloration, sagging, or visible water stains. Issues from the floor above, like overflowing bathtubs or leaky roofs, can also contribute to bathroom ceiling damage.
Safeguarding your bathroom against water damage bathroom ceiling is crucial for maintaining the structural integrity and aesthetics of your home. A compromised ceiling not only poses safety hazards but also diminishes the appeal of your space. Water damage weakens the ceiling's framework, leading to potential collapses or costly repairs. Moreover, unsightly stains or sagging can diminish the overall ambiance of your bathroom, affecting the comfort and value of your home.
How to prevent water damage in the bathroom
Water damage in the bathroom doesn’t have to spell disaster. With timely repairs and proactive measures, you can keep your bathroom in tip-top shape. Remember, a little maintenance goes a long way in preserving this essential space in your home:
- Regular inspections - Make it a habit to inspect your bathroom for any signs of damage - leaks, stains, or mould growth. Early detection is key!
- Proper ventilation - Install and use exhaust fans or open windows to reduce moisture buildup. This simple step can prevent a myriad of issues.
- Maintain fixtures - Check faucets, showerheads, and pipes regularly for leaks. Replace worn-out seals and parts promptly.
- Sealing and waterproofing - Invest in quality caulking and sealants for fixtures, tubs, and showers. Consider waterproof paints or coatings for cabinets added protection.
- Quick action - Don't procrastinate when you notice a problem. Address it immediately to prevent further damage.
Preventing water damage in your bathroom isn't just about fixing problems; it's about protecting everything, including your furniture, from potential harm. Here's the lowdown on keeping your bathroom dry and your furniture safe.
Keep an eagle eye on your bathroom. Look for signs of water damage in the bathroom. Regular inspections are your best friends. Look out for leaks, drips, or any signs of moisture around fixtures, pipes, or walls. Stay on top of repairs - loose caulking, cracked tiles, or dripping faucets are troublemakers that can wreak havoc. Fix them pronto to stop water from sneaking into places it shouldn't be.
Protect your bathroom furniture
The cabinets and vanities are the most vulnerable items in the bathroom when it comes to water damage. If the incident happens, think about protecting your furniture. Think about placing protective barriers, like waterproof liners or trays, under bathroom essentials to catch any spills or drips and protect your bathroom cabinet from water damage. Here are the ways:
- Choose water-resistant materials – to prevent bathroom vanity water damage, opt for bathroom furniture crafted from water-resistant materials like marine-grade plywood, teak, or certain types of engineered wood. These materials are less prone to water damage and offer increased durability.
- Apply waterproof treatments - Consider applying waterproof sealants or coatings to bathroom cabinets and vanities. These treatments create a protective barrier, repelling water and preventing it from seeping into the furniture's surface.
- Ensure proper sealing - Regularly check and maintain seals on furniture surfaces. Ensure edges, joints, and seams are well-sealed to avoid water infiltration, especially in areas prone to splashes or spills.
- Use protective barriers - Place trays, or waterproof liners underneath bathroom essentials like toothbrush holders, soap dispensers, or makeup organizers. These barriers act as a shield, catching any accidental spills or drips and preventing direct contact with the furniture surface.
- Regular maintenance - Routinely clean and dry furniture surfaces to prevent moisture buildup. Wipe down any spills immediately to avoid prolonged contact with water.
- Good ventilation - Enhance airflow in your bathroom with proper ventilation. Install exhaust fans or open windows to reduce humidity and moisture levels, benefiting both furniture and the overall bathroom environment.
Different vinyl wrap options
What are vinyl wraps? A bathroom vinyl wrap is a thin, adhesive-backed material designed to cover and transform the surface of cabinet doors and drawers, as well as other cabinetry components. A vinyl wrap for bathroom vanity is similar to a large, durable sticker that adheres to the cabinet surface, effectively changing its appearance. Vinyl wraps for bathroom cabinets are available in various colours, patterns, and textures, including solid colours, wood grain finishes, textured surfaces, and even printed designs.
A wrap-around bathroom vanity offers an affordable and versatile way to update or refresh the look of cabinets without the need for extensive renovations or costly replacements. They provide a protective layer that can conceal damage, scratches, or wear while offering a new, customized aesthetic to cabinets.
Here are vinyl wrap bathroom options to choose from:
| Bathroom vanity vinyl wrap options | Description |
| Solid color wrap | This type of vinyl wrap for the bathroom is ideal for a clean, modern look. Solid colour wraps offer simplicity and versatility, transforming cabinets with ease. |
| Wood grain finish | Mimics the appearance of natural wood, providing a warm, classic aesthetic without the expense of real wood cabinets. |
| Textured finish | Offers various textures like matte, gloss, or embossed patterns in wrap bathroom cabinets adding depth and character to cabinet surfaces. |
| Patterned or printed wraps | This bathroom cabinet vinyl wrap provides limitless design options with patterns, prints, or custom graphics, allowing for unique and personalized looks. |
| Metallic and glossy finishes | Offers a sleek, high-shine appearance, perfect for a contemporary, high-end kitchen or bathroom upgrade. |
Is there also a bathroom countertop wrap?
Vinyl wraps can also be used for bathroom countertops. Similar to their application on cabinets, a bathroom countertop vinyl wrap is designed for countertops. They offer a cost-effective and relatively simple way to transform the appearance of bathroom surfaces. These bathroom countertop wraps come in various finishes, including solid colours, patterns, and textures, allowing you to achieve the desired look for your bathroom countertops. Vinyl wraps for bathroom countertops are durable, and resistant to moisture, scratches, and stains, making them a practical choice for updating or refreshing bathroom surfaces without the expense and hassle of replacing the entire countertop.
Aside from vinyl wrap bathroom countertops, another thing to consider is bathroom sink wrap. Vinyl wraps for bathroom sinks offer a budget-friendly and DIY-friendly solution for updating or refreshing the look of the sink. However, it's important to note that due to the constant exposure to water and use, the durability of the vinyl wrap on a sink might differ from its performance on other surfaces. Proper application and maintenance are crucial to ensure the longevity and effectiveness of the vinyl wrap on a bathroom sink. It's essential to ensure proper installation and maintenance to ensure the longevity and effectiveness of the vinyl wrap on the bathroom countertop.
Can you vinyl wrap bathroom tiles?
Vinyl wraps can indeed be used on bathroom tiles to update or change their appearance. Vinyl wraps for bathrooms are designed to adhere to tile surfaces, providing a cost-effective and versatile solution for giving tiles a new look without the need for extensive renovation or replacement. Bathroom tile wrap comes in various styles, including solid colours, patterns, and textures like wood grain or stone finishes.
They offer a convenient way to refresh the appearance of bathroom tiles, allowing for customization and creativity in design. However, it's essential to properly clean and prepare the tile surface before applying the vinyl wrap to ensure a smooth and long-lasting finish. Additionally, while vinyl wraps can offer a temporary cosmetic change, their durability on tiled surfaces subjected to moisture and high traffic might vary, requiring proper maintenance for optimal performance.
Bathroom resurfacing techniques: your guide to freshen things up
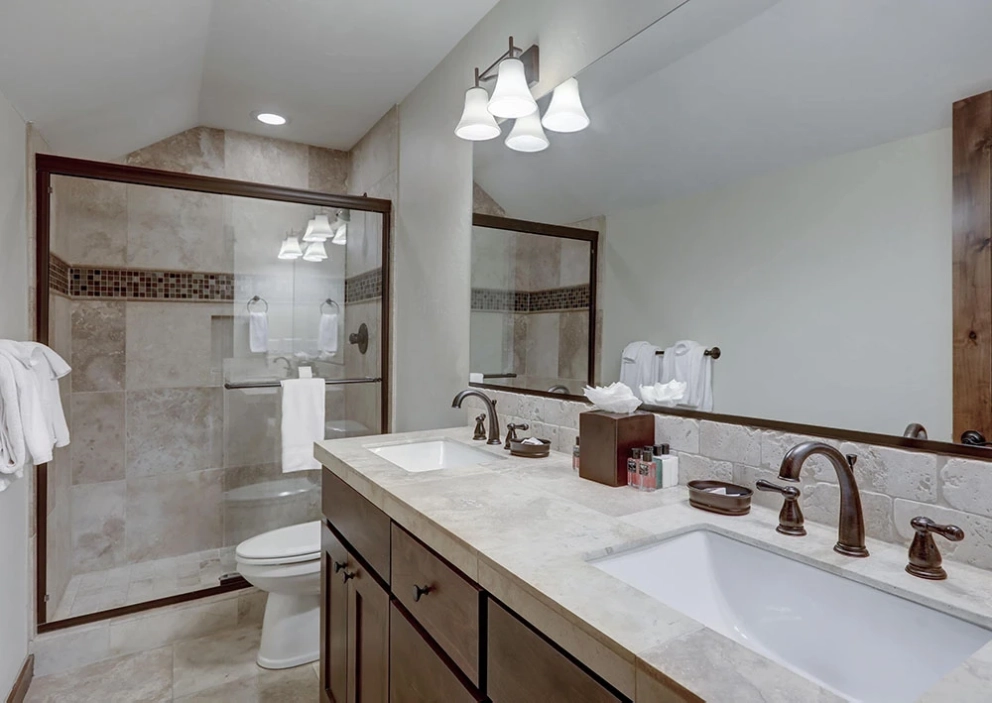
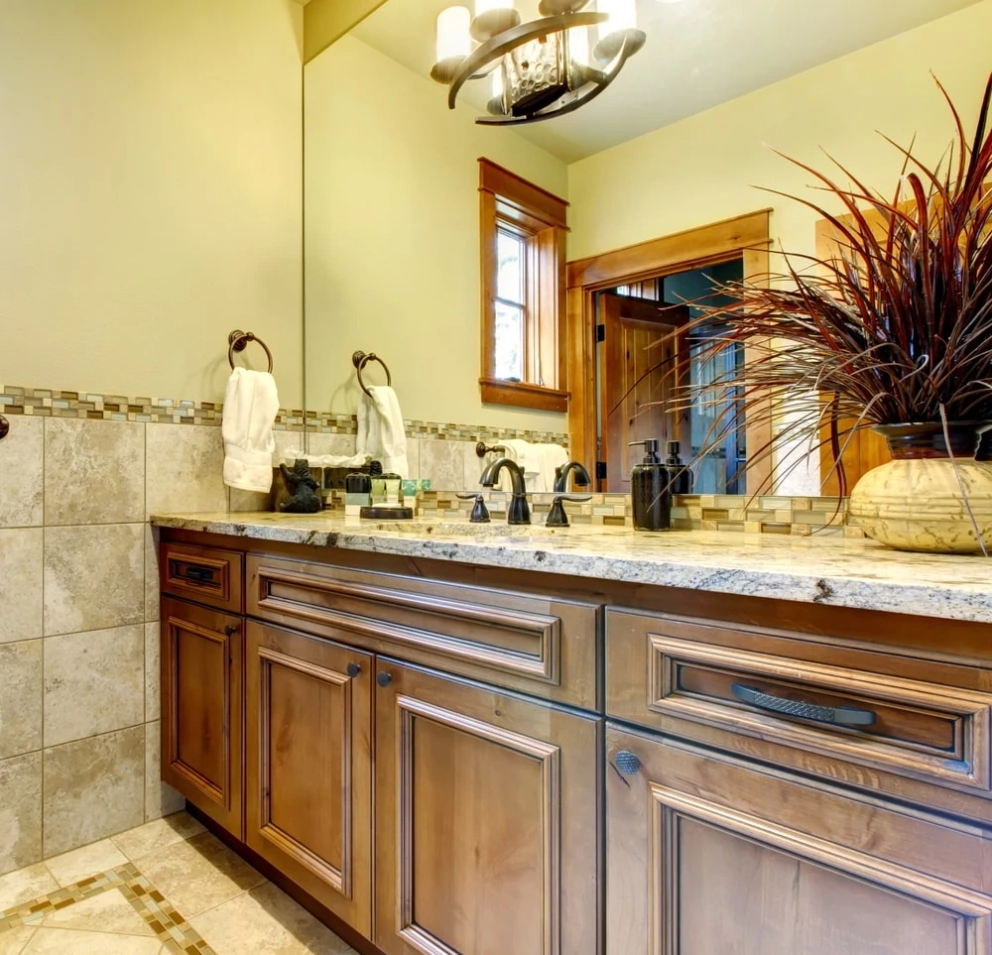
Cabinets and vanities play a huge role in your bathroom’s aesthetics. If your bathroom cabinets and vanities look worse for wear, resurfacing a bathroom vanity is your go-to solution. Sanding them down, applying a fresh coat of laminate, or even opting for veneer can transform their appearance remarkably.
Here are 5 techniques you can do when resurfacing bathroom cabinets:
- Veneer application – The most popular bathroom cabinet resurfacing technique is to opt for veneers. Veneers offer a more natural wood appearance and are relatively simple to apply. You can choose from various veneer types, including light or dark wood, to cover the cabinet surfaces. Ensure proper measurements and cut the veneer accordingly before adhering it to the cabinets.
- Refinishing with stain or finish - If you have wooden cabinets and want to maintain their natural look, refinishing with a stain or lacquer might be the way to go. Sand down the cabinets to remove the existing finish, apply the stain or lacquer of your choice, and seal it with a topcoat for protection and shine.
- Replacing cabinet doors and hardware - Sometimes, a simple change in cabinet doors or hardware can give a significant facelift to your bathroom. You can opt for new doors with a different style or material, such as glass or wood, and update the knobs or handles to match your bathroom's updated look.
- Laminate application - Applying new laminate sheets is another way to resurface cabinets. Measure and cut the laminate to fit the cabinet surfaces, use adhesive specifically designed for laminate, and carefully apply it, ensuring a smooth and even finish.
- Thermofoil – is a budget-friendly and aesthetically pleasing method of bathroom vanity resurfacing for tired and outdated bathroom furniture. Thermofoil, a heat-applied vinyl material, provides a smooth and durable finish that mimics the look of wood or other materials. The resurfacing process involves applying the thermofoil over the existing cabinet surfaces, creating a seamless and contemporary appearance. It allows for a wide range of design choices, as thermofoil comes in various colours and patterns. Before application, it requires levelling to a perfectly smooth surface, so thermofoil resurfacing is usually not suitable for DIY projects.
Bathroom countertop resurfacing
Countertops take a beating in the bathroom too, but that doesn’t mean you need to replace them entirely. DIY bathroom countertop resurfacing can work wonders. You can use kits designed for this purpose or opt for materials like laminate paint, epoxy, or even tile refinishing to achieve a whole new look.
- Epoxy resurfacing: Epoxy is a versatile and durable material often used for resurfacing bathroom countertops. Bathroom countertop resurfacing involves cleaning the countertop thoroughly, sanding it lightly for better adhesion, and applying multiple layers of epoxy. Make sure to follow the manufacturer's instructions when doing this. You can add colour pigments or even embed decorative elements like stones or shells between the epoxy layers for a customized look.
- Laminate overlays: Applying a new laminate overlay is another popular technique for resurfacing bathroom countertops. When resurfacing a bathroom vanity top, professionals measure and cut the laminate sheet to fit the countertop surface, then use special glue to resurface it. There are a lot of edge solutions to trim the edges neatly for a seamless finish. This bathroom counter resurfacing method offers a variety of colours and patterns to match your bathroom's style.
- Tile resurfacing - If you prefer a textured or tiled look, consider resurfacing with tiles. This involves placing the tiles in your desired pattern. Once set, it is necessary to fill the grout lines, let them dry and seal the surface for protection against moisture and stains. This method allows for creativity in design and is relatively durable.
To wrap out, it is rather to say that bathroom proper functionality is vital for family health and good habits. Make sure all of your bathroom fixtures work properly and no leaks and damages occur.