A Step-By-Step Guide on How to Install Molding on Cabinets
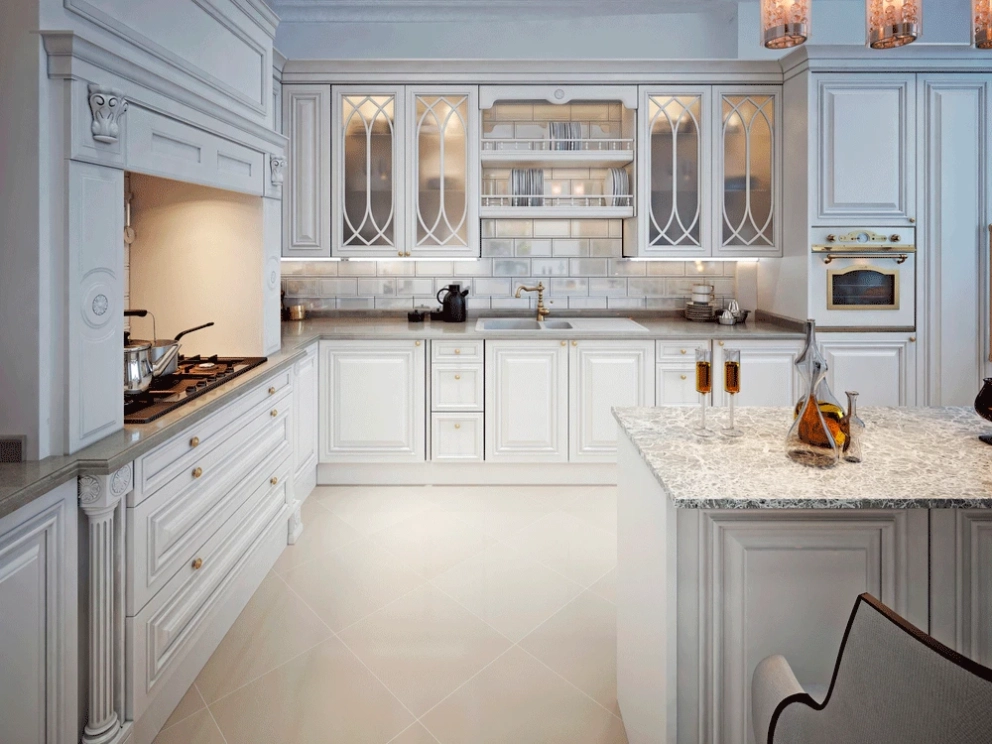
Installing new cabinetry may seem like a simple task if you are a Jack of all trades. But in order to make the cabinets look absolutely stunning and professionally installed, you will need to add finishing touches, such as kitchen mouldings. Classic crown mouldings, restrained modern-style riser mouldings, side filler and toe kicks give an accomplished look to the kitchen, seamlessly integrating all parts of the kitchen design. No more unfinished look, between-the-cabinet gaps or blinding under-cabinet lighting.
The use of mouldings is not just for aesthetic purposes. They also ensure that the wood will be covered and no sharp edges are visible after installation. To find the right cabinet mouldings for your kitchen, make sure that you coordinate the type of cabinet and the style of the moulding to ensure they are complementary. This Cut2Size blog will show you what types of cabinet trims, valances and mouldings are available and help you decide if your kitchen cabinets need crown moulding. It will also give you an idea of how to install cabinet moulding to achieve your kitchen's best look.
What Are Moldings?
Moldings are decorative strips that are made of wood or cement that cover the transition of edges or corners in between surfaces. The use of mouldings originated in the early civilizations of ancient Egypt and then later on regulated and improved upon by the Greeks and the Romans. Classical buildings are structures where different designs of moldings can be seen. In today’s era, crown moldings on top of kitchen cabinets are typical in traditional homes. The main functions of installing crown molding on kitchen cabinets are: to cover the gap between surfaces, to protect the wall from insects and pests, and to serve as a decorative element.
What are The Three Types of Kitchen Moldings?
Before we go down the process of crown molding installation, let’s familiarize ourselves first with the three types of molding commonly found in the kitchen. These are:
Crown Molding
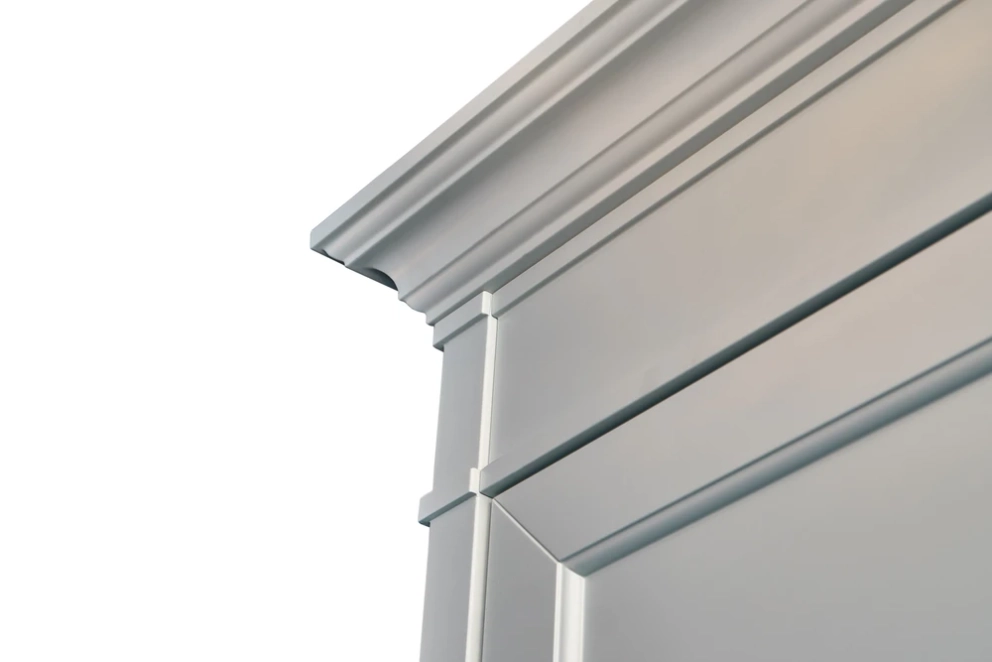 Crown molding gets its name from the fact that it covers the uppermost section of an overhanging kitchen cabinet towards the ceiling like a crown. Among the other moldings, it also has the most elaborate pattern. Depending on the height of your kitchen's ceiling, crown molding above kitchen cabinets might be immediately affixed to it. Crown moldings are available from a lumber shop manufacturer. You can DIY crown molding on cabinets since cabinets with higher crown moldings are frequently constructed to order.
Light Valance Molding
 This is the molding underneath your overhang cabinets. It is typically the thinnest type of molding and is installed to give your kitchen a more complete, and cleaner look. Cabinet valance also hides the under-cabinet lighting so the LED fixtures or strips are not visible thus giving your kitchen backsplash that amazing lighting effect.
Toe-Kick Detail
 It is attached to the base cabinets' front and bottom. Toe-kick moldings conceal the shims that are generally put under base cabinets to ensure a level tabletop as well as the separation joints between adjoining base cabinets.
What’s the Right Cabinet Molding for Your Kitchen?
Before you go ahead on knowing how to install crown molding on cabinets that go to the ceiling, you need first to identify the right cabinet molding for your kitchen.
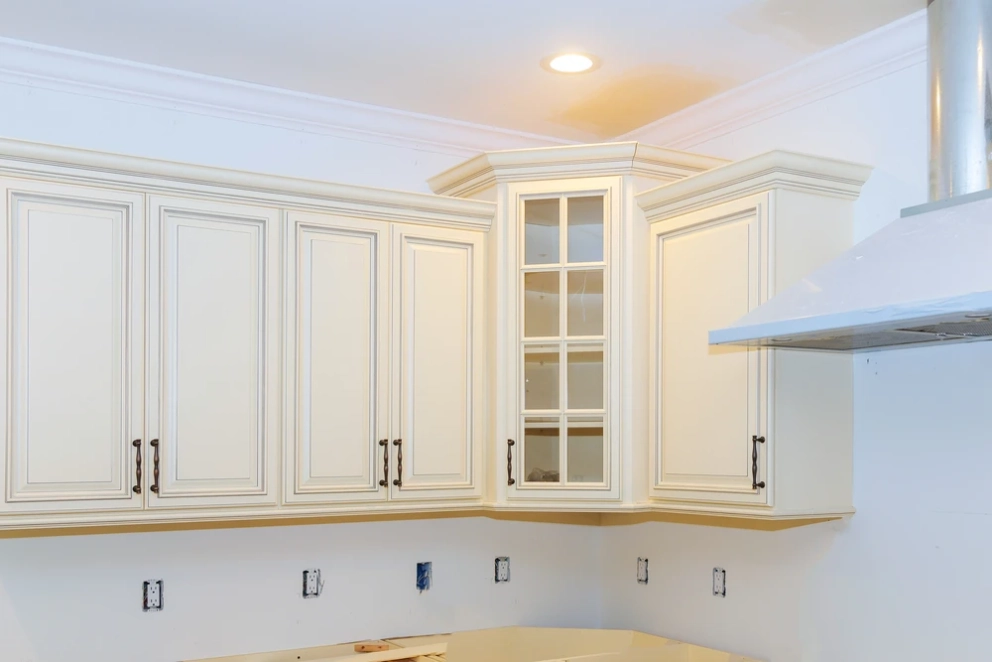
Traditional style crown molding
Traditional crown molding is the most common type that you see in Neoclassical and Victorian-era homes. If your house has this interior design aesthetic, then this type of molding will complement it. Knowing about style is a crucial step before installing moldings so your kitchen will match the overall look of the rest of your interior.
Stacked molding
Multiple pieces of crown molding are piled to provide a unified look. The stacked crown is ideal for rooms with high ceilings. it can be both a decorative and functional feature in your cabinetry. To achieve a flush final look, a stacked crown may be utilized to fully conceal the space between your cabinetry and ceiling.
Interior crown molding
This crown molding is similar to traditional crown molding, except it goes beyond the cabinets and around the room. It is also concave other than protruding like typical moldings commonly seen on top of cabinets.
Freeze board molding
It's most frequent in contemporary kitchen designs. It's a thin molding that runs the length of the cabinet all the way to the ceiling. It is for the person who prefers a more straightforward and unadorned appearance.
Standard Dimensions of Crowd Molding on Cabinets
| Standard Size of Crown Molding | |
| Ceiling Height | Crown Molding |
| 8’ – 0” | 3” – 5.25” |
| 9’ – 0” 10’ – 0” | 5.35” – 7” |
| Over 10’ | Build up using multiple trims |
Tools and Materials Needed to Install Cabinet Crown Molding

Attaching crown molding to cabinets is a challenging task. You might need the help of a carpenter if you haven’t done this before. But if you have an idea of how to do it and you know the basics of carpentry, make sure to prepare these things before installing cabinet crown molding.
- Electric nail gun
- Brad nails
- Electric miter saw
- Tape measure
- Hammer
- Flat pry bar
- Pencil
- Carpenter’s glue
- Platform ladder
- Masking film
- Angled paintbrush or spray paint
- Crown molding
- 1x2 lumber strips
Step-By-Step Guide on How to Install Crown Molding on Cabinets
As soon as you begin the task of adding crown molding to your kitchen cabinets, every detail counts. From renovating entirely or making subtle updates for modernization purposes, this step-by-step guide ensures your cabinets will exude sophistication. So get set and begin this exciting journey of elevating them with crown molding!
Remove existing crown molding on kitchen cabinets
If you are renovating your kitchen, remove the existing crown molding around kitchen cabinets. If the moldings are quite old and dilapidated, you can tear them down completely and throw the wood away. But if the moldings are in good condition, you can reuse them by making some extra cuts for a better fit. Use a hammer and a flat pry bar to carefully remove the moldings to prevent making further damage.
Get the measurements
It's crucial to get the measurements right if you want your crown molding to fit snugly. Use a measuring tape to get the dimensions of your cabinet so you will have a clear picture of how many nailing strips and crown molding you might need. To get the correct length of the nailing strips, place them above the cabinet and use a pencil to mark a line where the wood overlaps or meets the edges. Do this for each side of your cabinetry.
Cut the wood strips
The first step in how to cut crown molding for kitchen cabinets is to cut the 1x2 lumber or nailing strips on the pencil line you previously made to determine the correct length of the strips. Before cutting the molding, you need to cut the lumber first since it will serve as the buildup of your crown molding.
Install the wood strips
Next, place the wood strips on top of the cabinet and screw it from the top or from underneath using a nail gun. Do whichever method is convenient for you. Make sure that the strips are tightly attached to the cabinets and that there are no overlaps on the edges.
Measure the front section of the crown molding for cabinet tops and cut
When cutting crown molding for cabinets, the front part of the crown molding should be measured and marked to that same cabinet width. Make a 45 ° angle cut using the miter saw. Position the crown molding against the saw so that it is upturned and at a 45 ° angle. After cutting at one spot, move the molding to the next point. Make the second cut with the saw set to the opposite 45 ° angle.
Install the front section
Do the first cabinet crown molding installation by attaching the front section. How to attach crown molding to cabinets? Place the front piece of the molding against the front nailing strip. Be sure it's in the right place. Drill many brad nails through the lower border of the crown molding and into the wood strip using the nailing gun. The crown molding may sag a little at this stage, but that will be fixed after the side parts are added.
Measure the side section of the crown molding and cut
Only one of the two side pieces of crown molding requires angle cuts; the other can be cut at a 90-degree angle. Next, cut a 45-degree cut angle on one side of the left portion of crown molding to match the 45-degree left side of the front crown molding. Carry on with the right side in the same manner. Do the same with the side crown molding portions as you did with the other wood strips and the wall. If you don't want the crown molding to touch the wall, allow approximately a 1/8-inch space.
Install the side section
After measuring and cutting, it’s time to install the side section. Set the left crown molding portion against the nailing strip on the left. Make sure the two 45-degree angled crown molding parts are exactly aligned. Screw the side crown molding part in place with one hand firmly supporting that angled connection.
Paint the crown molding
You’ve done the quite laborious step of how to install cabinet molding. This step is the final touch that will complete the elegant look of your kitchen cabinetry. Wrap the cabinets with a masking film and fasten them with painter's tape before painting. Allow at least four hours for the paint to set before removing the plastic. If you're painting unprimed crown molding, you'll need to apply two coats of primer first. To cover any holes and hide the nails, apply some drywall hole repair. Then paint the molding with two layers of paint to match the color of the cabinet.
Additional Tips for Installing Crown Molding on Cabinets
Finally, we offer you some tips on how to make the molding installation process as stressless and easy as possible:
- Get an assistant if you plan to DIY. By now, you already know how to install crown molding. However, this is a challenging job and requires the help of another person to do it accurately and install the moldings successfully. If this is your first time doing this, ask for assistance or better yet, hire a carpenter to help you out.

- Use a platform ladder when installing crown moldings. You need a platform to conveniently install the moldings since they are situated on the top of your cabinetry some of which almost reach the ceiling. Avoid using your countertop as a platform as it can leave marks and scratches and might damage the surface.
- Avoid furring strips when buying 1x2 timber for the nailing strips since they have jagged edges. Instead, use softwood with fine, straight edges, such as spruce, pine, or fir.
- When it comes to fastening crown molding to wood strips, Carpenter’s glue comes in handy. Run a tiny bead of Carpenter’s glue around the intersection between the molding and the wood after you've cut all of the parts and dry-fitted them for accuracy. Make sure you don't get any adhesive on the cabinetry.
- If you're going to use a nail gun, make sure it's an electric one. This useful gadget not only allows you to discharge small brad nails without damaging your cabinetry, but it can also get into hard-to-reach areas where striking a hammer won't work.
You now have a general idea of how to install crown molding on your kitchen cabinets. If you are skeptical of your expertise or have no experience in installing crown molding before, it is necessary that you familiarize yourself with the cutting procedures and angles required before undertaking this project.
Take a look at different types of kitchens and kitchen cabinetry, Notice the moldings and the craftsmanship. Determine the difference between a kitchen with crown molding and a kitchen without moldings. You will see that kitchens with moldings tend to appear complete and aesthetically elegant compared to those without.
However, it still depends on the kitchen design style that you like. Contemporary kitchens, for example, don’t need moldings since they are unique and sophisticated in the nature of their design. We hope this comprehensive guide is detailed and thorough enough to help you on installing kitchen moldings whether you are remodeling or building your kitchen from scratch.